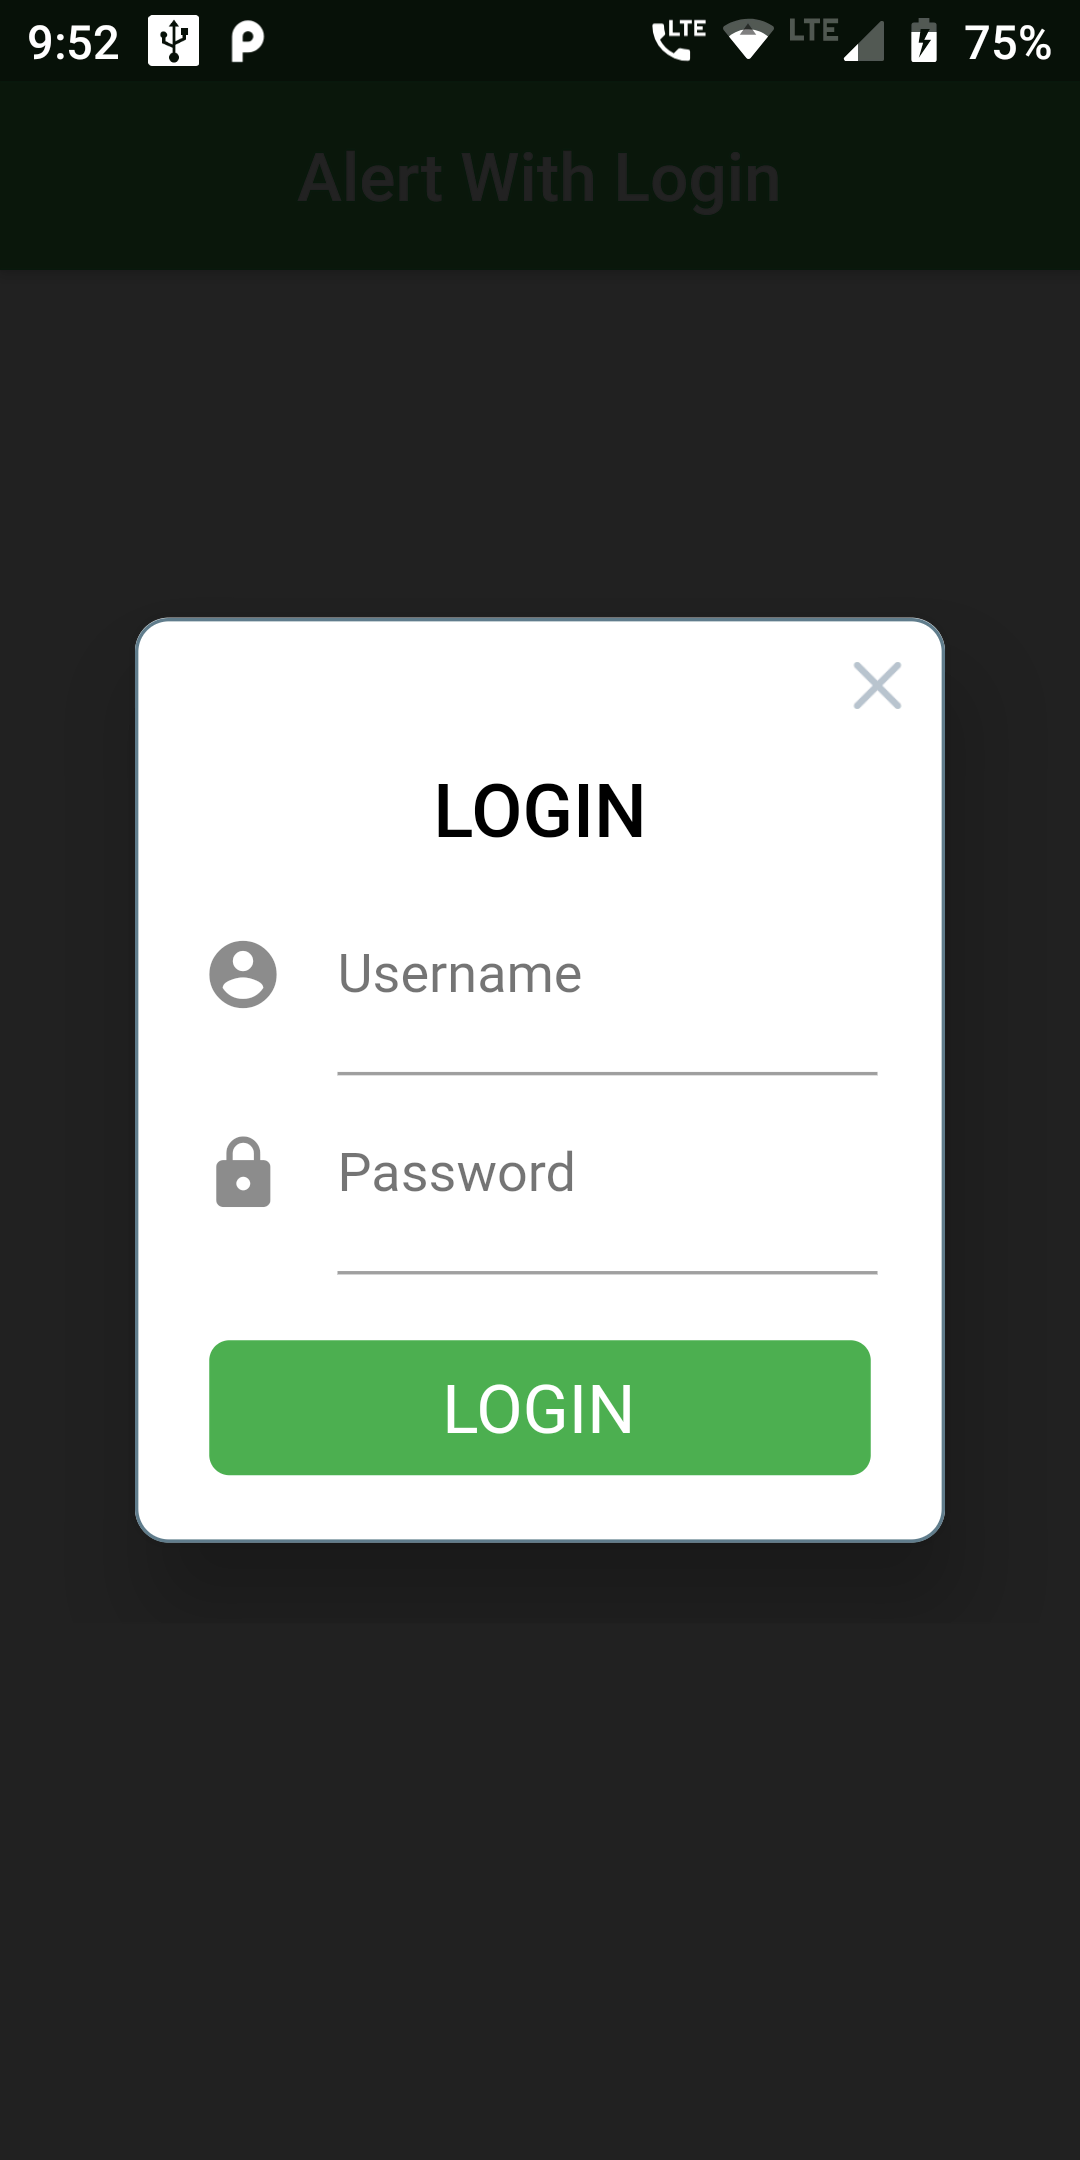
Step 1
We cannot directly remove the time stamp from Alert PopupDialog With Login Screen but using the intl.dart package we can easily filter the date stamp from time stamp. So open your flutter project’s pubspec.yaml in code .
dependencies:
  flutter:
    sdk: flutter
  http: ^0.12.0
  rflutter_alert: ^1.0.3
flutter pub get
import 'package:rflutter_alert/rflutter_alert.dart';
import 'package:flutter/material.dart';
import 'package:rflutter_alert/rflutter_alert.dart';


void main() => runApp(RatelApp());
class RatelApp extends StatelessWidget {
  @override
  Widget build(BuildContext context) {
    return MaterialApp(
      debugShowCheckedModeBanner: false,
      home: Scaffold(
        appBar: AppBar(
          centerTitle: true,
          backgroundColor: Colors.green,
          title: Text('Alert With Login'),
        ),
        body: PopupDialog(),
      ),
    );
  }
}
class PopupDialog extends StatelessWidget {
  @override
  Widget build(BuildContext context) {
    return Container(
      child: Center(
        child: Column(
          mainAxisAlignment: MainAxisAlignment.center,
          children: <Widget>[
            RaisedButton(
              child: Text('Alert with Custom Content', style: TextStyle(color: Colors.white, fontSize: 15),),
              onPressed: () => _onAlertWithCustomContentPressed(context),
              color: Colors.green,
              textColor: Colors.black,
            ),
          ],
        ),
      ),
    );
  }

// Alert with single button.
  _onAlertWithCustomContentPressed(context) {
    Alert(
        context: context,
        title: "LOGIN",
        content: Column(
          children: <Widget>[
            TextField(
              decoration: InputDecoration(
                icon: Icon(Icons.account_circle),
                labelText: 'Username',
              ),
            ),
            TextField(
              obscureText: true,
              decoration: InputDecoration(
                icon: Icon(Icons.lock),
                labelText: 'Password',
              ),
            ),
          ],
        ),
        buttons: [
          DialogButton(
            color: Colors.green,
            onPressed: () => Navigator.pop(context),
            child: Text(
              "LOGIN",
              style: TextStyle(color: Colors.white, fontSize: 20),
            ),
          )
        ]).show();
  }
}