
 Posted By
Bajarangi soft ,
Posted On 10-10-2020
Posted By
Bajarangi soft ,
Posted On 10-10-2020
Assigning classes to an element in HTML:
The names of the classes can be written within the “class” attribute.
Note: The names of the classes must be space separated.
Syntax:
<tag_name class="class_1 class_2">
tyle>
    .class_1{
        /* some styles */
    }

    .class_2{
        /* some styles */
    }
</style>
<!DOCTYPE html>
<html lang="en">

<head>
    <meta charset="UTF-8">
    <title>
        How to apply two CSS classes
        to a single element ?
    </title>

    <style>
        .para {
            font-size: larger;
            margin-bottom: 35px;
            background-color: rgba(11, 245, 23, 0.1);
        }

        .second_para {
            color: #e2a120;
        }
    </style>
</head>

<body>
<p class="para">
    Hello there.
</p>

<p class="para second_para">
    Welcome to Bajarangi Soft
</p>
</body>

</html>
<style>
    .class_1.class_2{
        /* some styles */
    }
</style>
<!DOCTYPE html>
<html lang="en">

<head>
    <meta charset="UTF-8">
    <title>
        How to apply two CSS classes
        to a single element?
    </title>

    <style>
        .para.second {
            font-size: larger;
            margin-bottom: 35px;
            margin-top: 35px;
            background-color: lightgreen;
            color: red;
        }
    </style>
</head>

<body>
<p class="para">
    Hello there.
</p>

<p class="para second">
    Welcome to Bajarangi
</p>

<p class="second">
    Like our platform?
</p>
</body>

</html>
<!DOCTYPE html>
<html lang="en">
<head>
<meta charset="UTF-8">
<title>
How to apply two CSS classes
to a single element?
</title>
<style>
.para.second {
font-size: larger;
margin-bottom: 35px;
margin-top: 35px;
background-color: lightgreen;
color: red;
}
</style>
<script>
function myFunc() {
var element = document.getElementById(
"to_be_styled");
element.classList.add("para", "second");
}
</script>
</head>
<body>
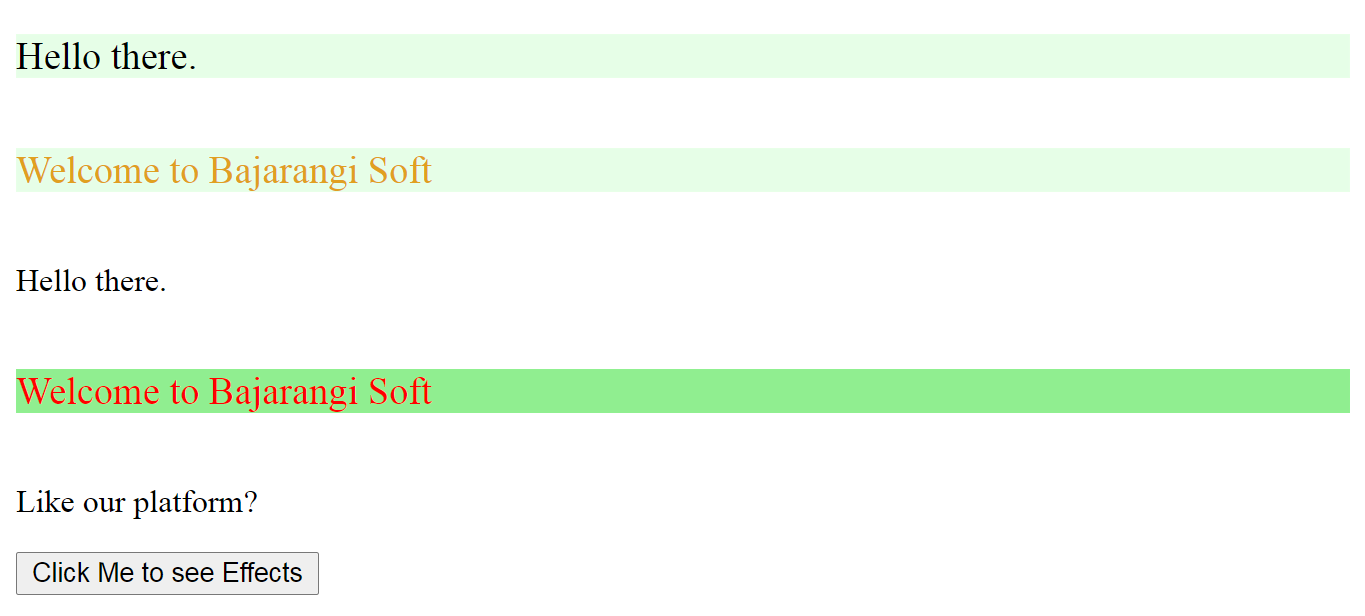
<p>Hello there.</p>
<p id="to_be_styled">
Welcome to Bajarangi Soft
</p>
<p>Like our platform?</p>
<button onclick="myFunc()">
Click Me to see Effects
</button>
</body>
</html>