How To Create Row Widget Radio Button Using Flutter App

admin_img Posted By Bajarangi soft , Posted On 30-10-2020

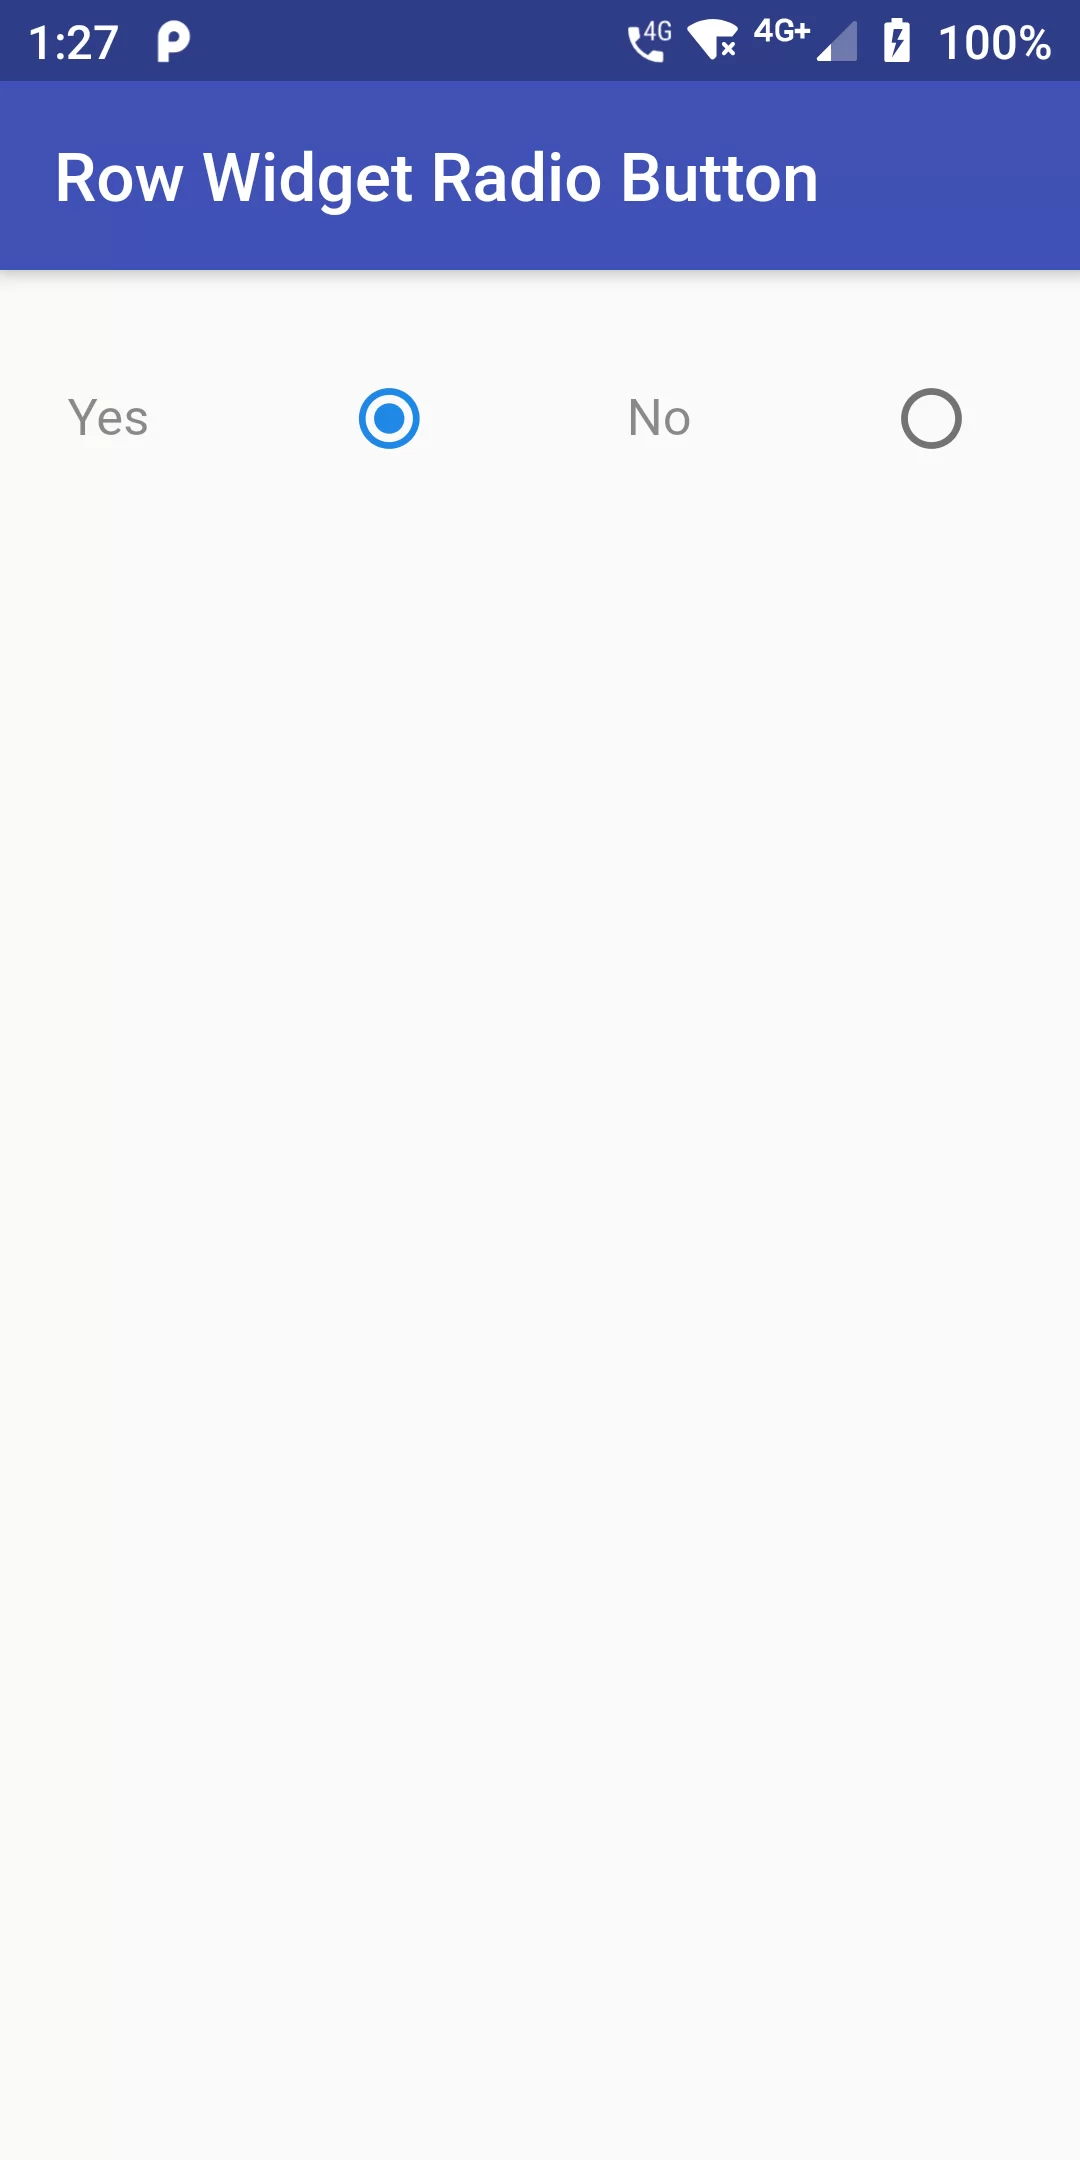
It is difficult to achieve Radio Button proper alignment in flutter mobile applications without knowing all the widgets. Using the Row widget and proper combination of Radio widget with Text widget we can easily show Set Align Radio Button in Horizontal Format in Flutter Android iOS app example tutorial. We would put both Radio widget and Text widget one by one in Row widget so they will align one after another from left to right in horizontal format.

How To Create Row Widget Radio Button Using Flutter App

Row Widget Radio Button
Complete Code For Row Widget Radio Button In Flutter
main.dart

import 'package:flutter/material.dart';

void main(){
  runApp(MyApp());
}

class MyApp extends StatelessWidget {
  // This widget is the root of your application.
  @override
  Widget build(BuildContext context) {
    return MaterialApp(
      debugShowCheckedModeBanner: false,
      home: MyHomePage(),
    );
  }
}

class MyHomePage extends StatefulWidget {
  @override
  _MyHomePageState createState() => _MyHomePageState();
}

class _MyHomePageState extends State<MyHomePage> {
  @override
  String radioButtonItem = 'ONE';
  int id = 1;

  Widget build(BuildContext context) {
    return Scaffold(
      appBar: AppBar(
        backgroundColor: Colors.indigo,
        title: Text("Row Widget Radio Button"),
      ),
      body:  Padding(
        padding: const EdgeInsets.all(20.0),
        child: Row(
          mainAxisAlignment: MainAxisAlignment.spaceBetween,
          children: [
            Text('Yes',
                style: new TextStyle(
                    fontSize: 15.0,
                    color: Colors.black45
                )
            ),

            Radio(
              value: 1,
              groupValue: id,
              onChanged: (val) {
                setState(() {
                  radioButtonItem = 'ONE';
                  id = 1;
                });
              },
            ),

            Text('No',
                style: new TextStyle(
                    fontSize: 15.0,
                    color: Colors.black45
                )),
            Radio(
              value: 2,
              groupValue: id,
              onChanged: (val) {
                setState(() {
                  radioButtonItem = 'TWO';
                  id = 2;
                });
              },
            ),
          ],
        ),
      ),
    );
  }
}

Related Post