
 Posted By
Bajarangi soft ,
Posted On 27-11-2020
Posted By
Bajarangi soft ,
Posted On 27-11-2020
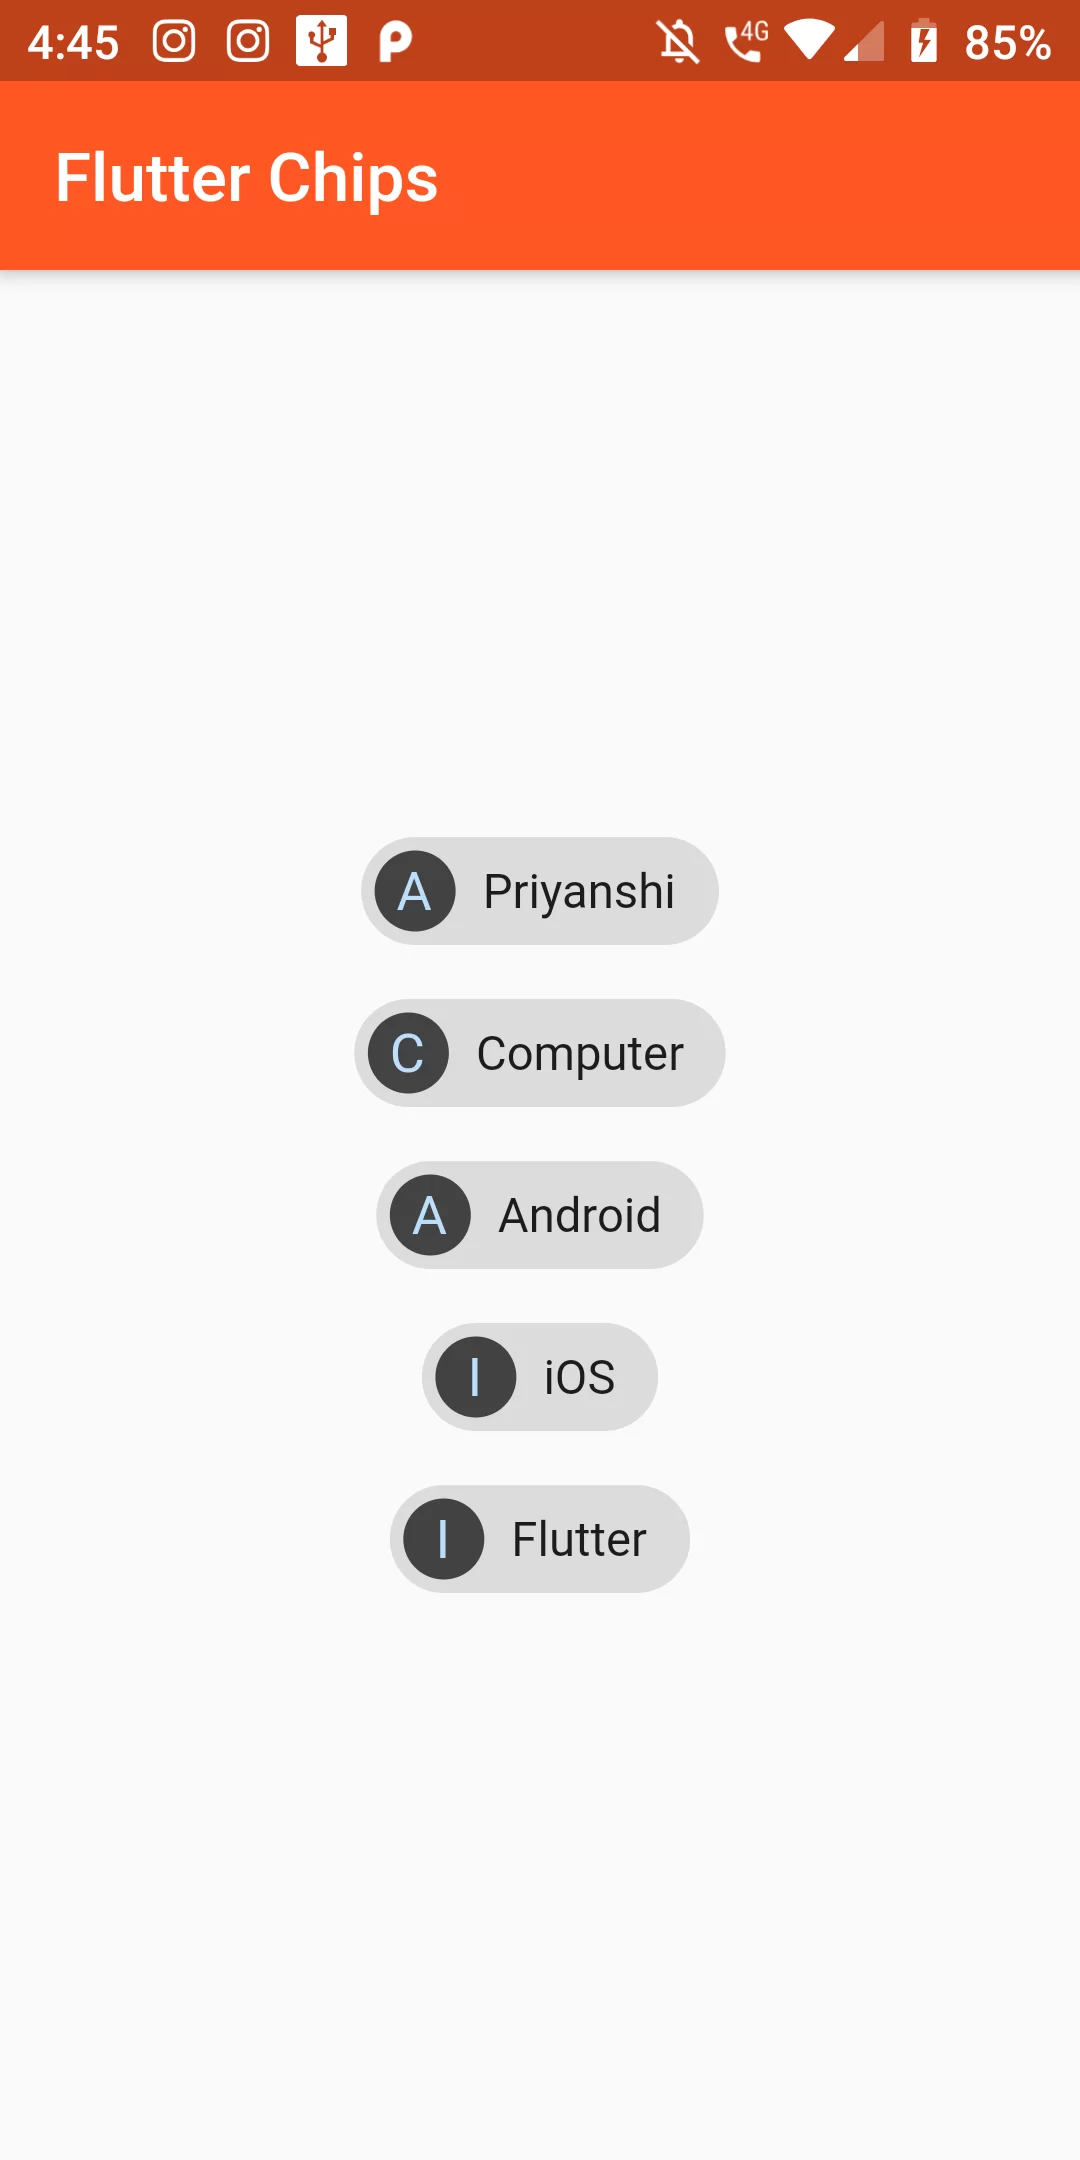
Implementing Chips Action
COmplete Code For Implementing Chips Action In Flutter
main.dart
import 'package:flutter/material.dart';

void main() => runApp(MyApp());

class MyApp extends StatelessWidget {
  @override
  Widget build(BuildContext context) {
    return MaterialApp(
      debugShowCheckedModeBanner: false,
      home: Scaffold(
        appBar: AppBar(
          backgroundColor: Colors.deepOrange,
          title: Text("Flutter Chips"),
        ),
        body: MyHome(),
      ),
    );
  }
}

class MyHome extends StatelessWidget {
  @override
  Widget build(BuildContext context) {
    return Center(
      child: Column(
        mainAxisAlignment: MainAxisAlignment.center,
        children: <Widget>[
          ActionChip(
              avatar: CircleAvatar(
                backgroundColor: Colors.grey.shade800,
                child: Text('A'),
              ),
              label: Text('Priyanshi'),
              onPressed: () {
                print("Chip 1 - Priyanshi");
              }
          ),

          ActionChip(
              avatar: CircleAvatar(
                backgroundColor: Colors.grey.shade800,
                child: Text('C'),
              ),
              label: Text('Computer'),
              onPressed: () {
                print("Chip 2 - Computer");
              }
          ),

          ActionChip(
              avatar: CircleAvatar(
                backgroundColor: Colors.grey.shade800,
                child: Text('A'),
              ),
              label: Text('Android'),
              onPressed: () {
                print("Chip 3 - Android");
              }
          ),

          ActionChip(
              avatar: CircleAvatar(
                backgroundColor: Colors.grey.shade800,
                child: Text('I'),
              ),
              label: Text('iOS'),
              onPressed: () {
                print("Chip 4 - iOS");
              }
          ),
          ActionChip(
              avatar: CircleAvatar(
                backgroundColor: Colors.grey.shade800,
                child: Text('F'),
              ),
              label: Text('Flutter'),
              onPressed: () {
                print("Chip 5 - Flutter");
              }
          ),

        ],
      ),
    );
  }
}