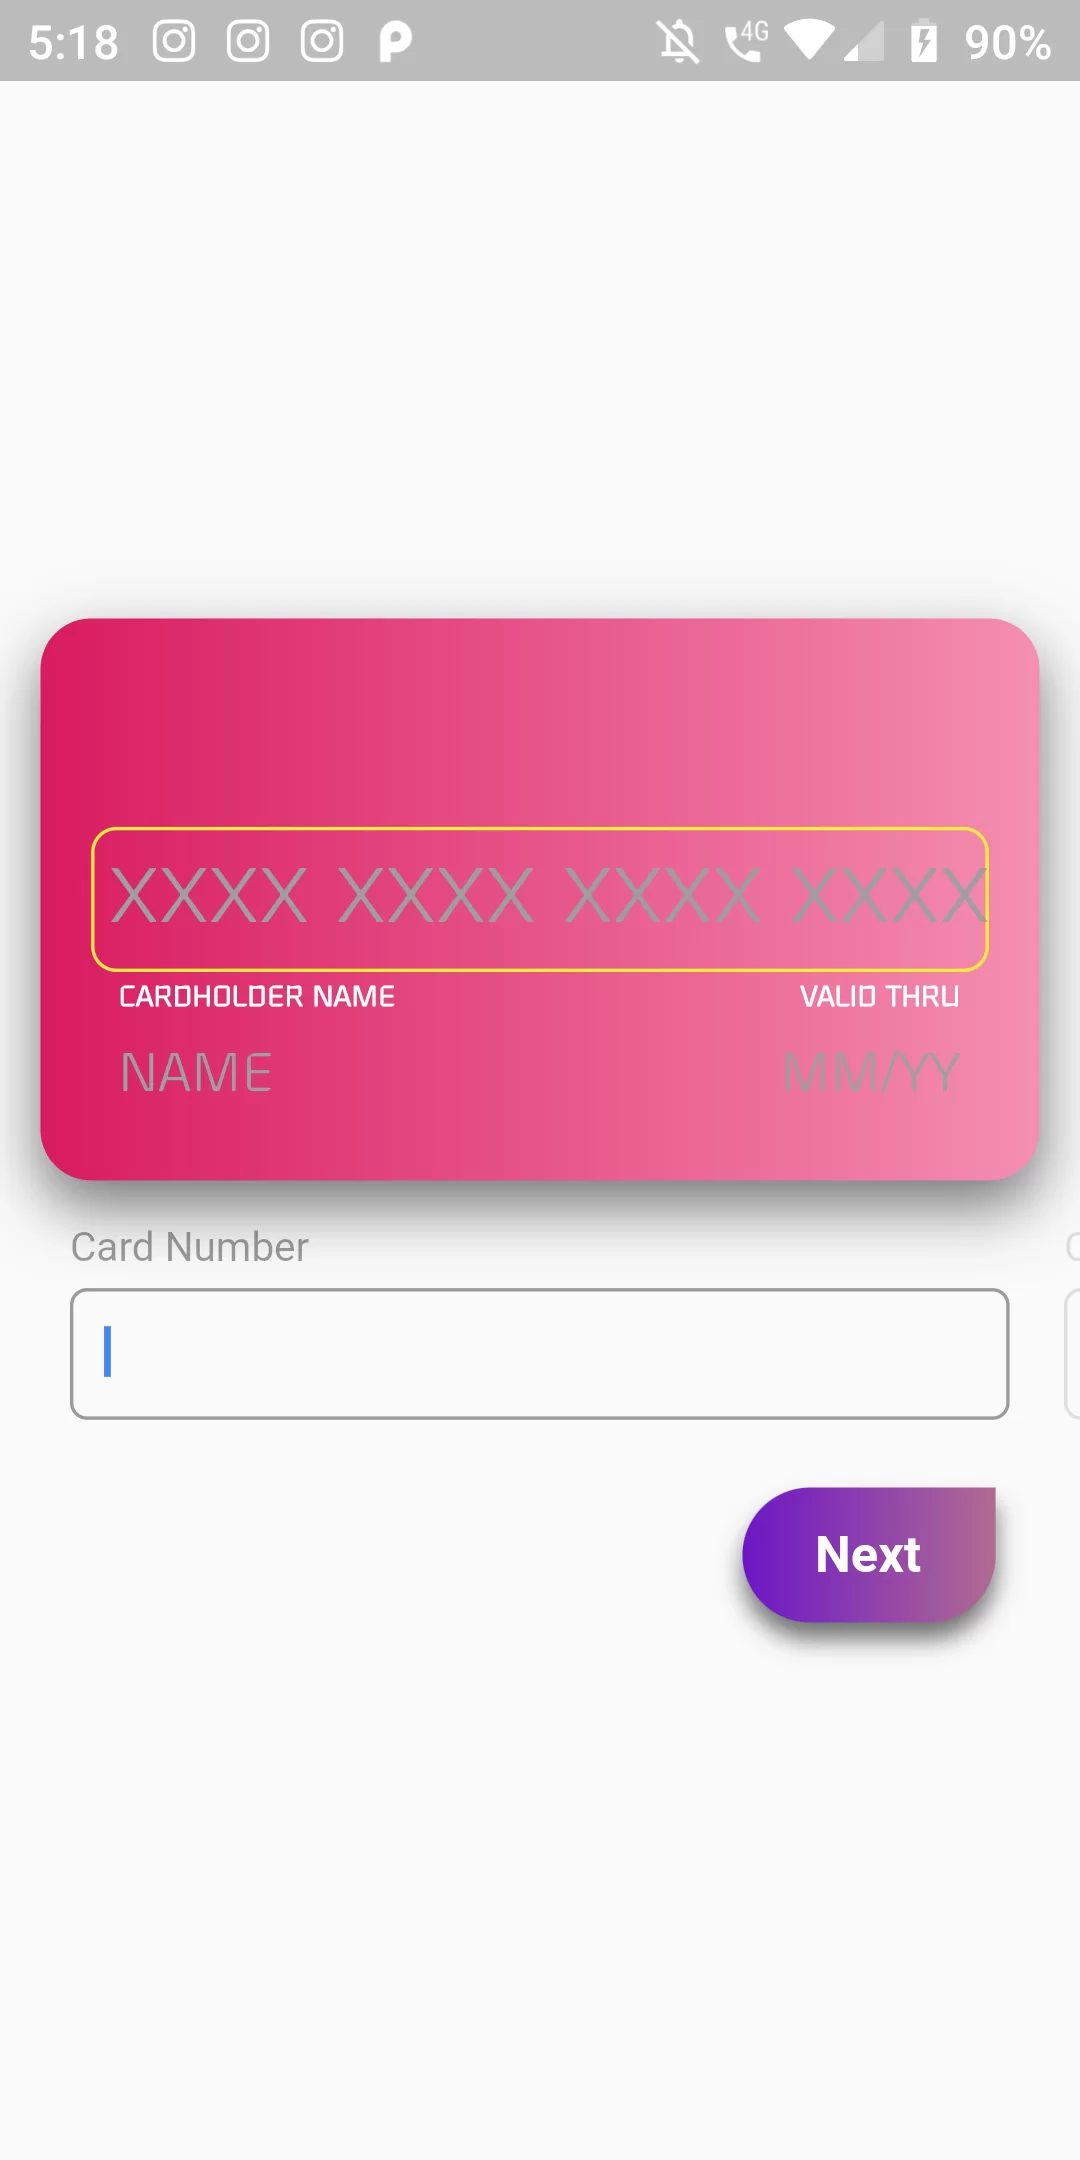
Credit Card Input Design
Step 1
We cannot directly remove the time stamp from Credit Card Input Design but using the intl.dart package we can easily filter the date stamp from time stamp. So open your flutter project’s pubspec.yaml in code .
dependencies:
  flutter:
    sdk: flutter
  credit_card_input_form: ^2.1.3
flutter pub get
import 'package:flutter/material.dart';
import 'package:credit_card_input_form/credit_card_input_form.dart';

void main() {
  runApp(MyApp());
}

class MyApp extends StatefulWidget {
  @override
  _MyAppState createState() => _MyAppState();
}

class _MyAppState extends State<MyApp> {
  // translate and customize captions
  final Map<String, String> customCaptions = {
    'PREV': 'Prev',
    'NEXT': 'Next',
    'DONE': 'Done',
    'CARD_NUMBER': 'Card Number',
    'CARDHOLDER_NAME': 'Cardholder Name',
    'VALID_THRU': 'Valid Thru',
    'SECURITY_CODE_CVC': 'Security Code (CVC)',
    'NAME_SURNAME': 'Name',
    'MM_YY': 'MM/YY',
    'RESET': 'Reset',
  };

  final buttonStyle = BoxDecoration(
    borderRadius: BorderRadius.circular(30.0),
    gradient: LinearGradient(
        colors: [
          const Color(0xfffcdf8a),
          const Color(0xfff38381),
        ],
        begin: const FractionalOffset(0.0, 0.0),
        end: const FractionalOffset(1.0, 0.0),
        stops: [0.0, 1.0],
        tileMode: TileMode.clamp),
  );

  final cardDecoration = BoxDecoration(
      boxShadow: <BoxShadow>[
        BoxShadow(color: Colors.black54, blurRadius: 15.0, offset: Offset(0, 8))
      ],
      gradient: LinearGradient(
          colors: [
            Colors.pink[600],
            Colors.pink[200],
          ],
          begin: const FractionalOffset(0.0, 0.0),
          end: const FractionalOffset(1.0, 0.0),
          stops: [0.0, 1.0],
          tileMode: TileMode.clamp),
      borderRadius: BorderRadius.all(Radius.circular(15)));

  final buttonTextStyle =
  TextStyle(color: Colors.white, fontWeight: FontWeight.bold, fontSize: 18);

  @override
  void initState() {
    super.initState();
  }

  @override
  Widget build(BuildContext context) {
    return MaterialApp(
      debugShowCheckedModeBanner: false,
      home: Scaffold(
        body: Column(
          mainAxisAlignment: MainAxisAlignment.center,
          children: <Widget>[
            Center(
              child: SafeArea(
                child: AnimatedContainer(
                  duration: Duration(milliseconds: 300),
                  child: Stack(children: [
                    CreditCardInputForm(
                      showResetButton: true,
                      onStateChange: (currentState, cardInfo) {
                        print(currentState);
                        print(cardInfo);
                      },
                      customCaptions: customCaptions,
                      frontCardDecoration: cardDecoration,
                      backCardDecoration: cardDecoration,
                    ),
                  ]),
                ),
              ),
            ),
          ],
        ),
      ),
    );
  }
}