
 Posted By
Bajarangi soft ,
Posted On 27-11-2020
Posted By
Bajarangi soft ,
Posted On 27-11-2020
Step1: Create Index.php file and implement below code.
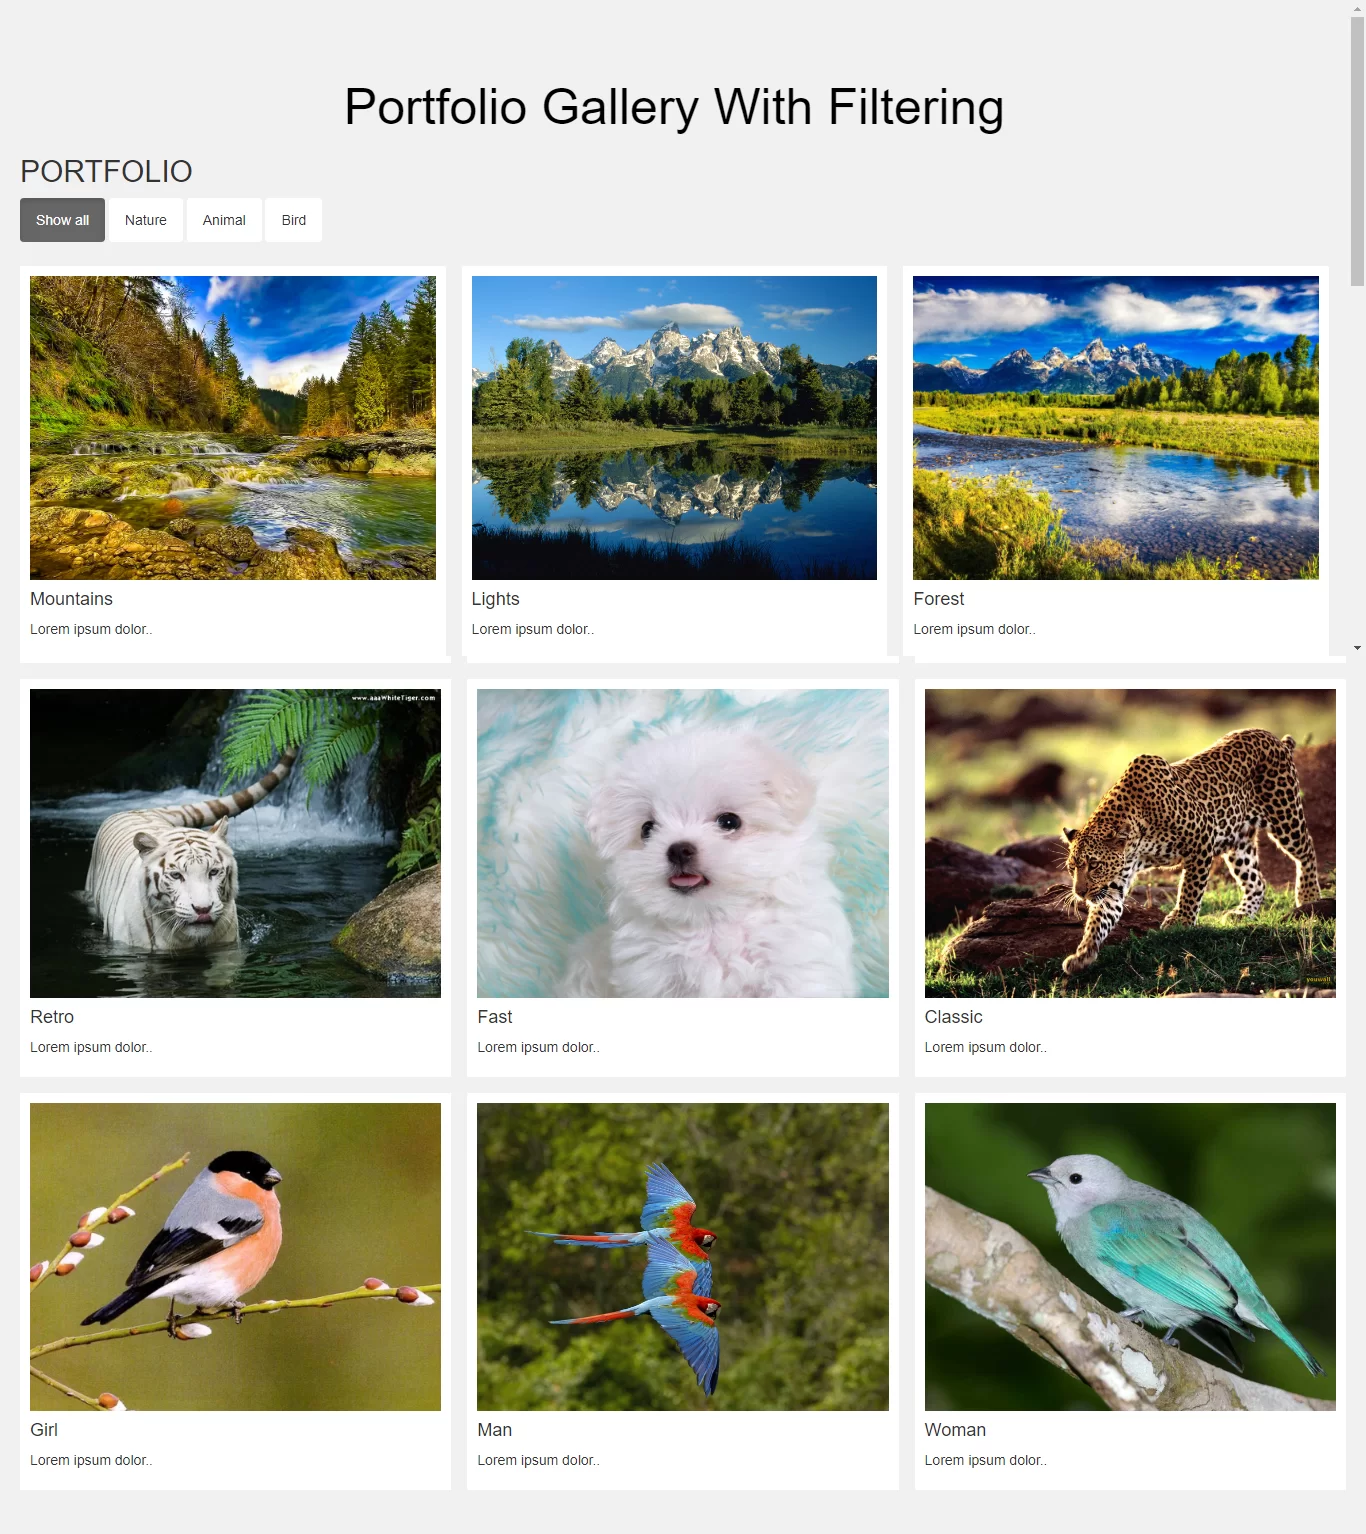
<h2>PORTFOLIO</h2>
<div id="myBtnContainer">
    <button class="btn active" onclick="filterSelection('all')"> Show all</button>
    <button class="btn" onclick="filterSelection('nature')"> Nature</button>
    <button class="btn" onclick="filterSelection('animal')"> Animal</button>
    <button class="btn" onclick="filterSelection('bird')"> Bird</button>
</div>

<!-- Portfolio Gallery Grid -->
<div class="row">
    <div class="column nature">
        <div class="content">
            <img src="https://cdn.hipwallpaper.com/i/42/85/qXM4WS.jpg" alt="Mountains" style="width:100%">
            <h4>Mountains</h4>
            <p>Lorem ipsum dolor..</p>
        </div>
    </div>
    <div class="column nature">
        <div class="content">
            <img src="https://cdn.hipwallpaper.com/i/28/73/LKwCQe.jpg" alt="Lights" style="width:100%">
            <h4>Lights</h4>
            <p>Lorem ipsum dolor..</p>
        </div>
    </div>
    <div class="column nature">
        <div class="content">
            <img src="https://cdn.hipwallpaper.com/i/43/93/RezcYW.jpg" alt="Nature" style="width:100%">
            <h4>Forest</h4>
            <p>Lorem ipsum dolor..</p>
        </div>
    </div>

    <div class="column animal">
        <div class="content">
            <img src="https://cdn.hipwallpaper.com/i/91/20/cBu8y5.jpg" alt="Animal" style="width:100%">
            <h4>Retro</h4>
            <p>Lorem ipsum dolor..</p>
        </div>
    </div>
    <div class="column animal">
        <div class="content">
            <img src="https://cdn.hipwallpaper.com/i/52/92/6YyufN.jpg" alt="Animal" style="width:100%">
            <h4>Fast</h4>
            <p>Lorem ipsum dolor..</p>
        </div>
    </div>
    <div class="column animal">
        <div class="content">
            <img src="https://cdn.hipwallpaper.com/i/60/49/A0eubB.jpg" alt="Animal" style="width:100%">
            <h4>Classic</h4>
            <p>Lorem ipsum dolor..</p>
        </div>
    </div>

    <div class="column bird">
        <div class="content">
            <img src="https://cdn.hipwallpaper.com/i/26/51/dBxNkv.jpg" alt="Bird" style="width:100%">
            <h4>Girl</h4>
            <p>Lorem ipsum dolor..</p>
        </div>
    </div>
    <div class="column bird">
        <div class="content">
            <img src="https://cdn.hipwallpaper.com/i/86/93/nA9gXQ.jpg" alt="Bird" style="width:100%">
            <h4>Man</h4>
            <p>Lorem ipsum dolor..</p>
        </div>
    </div>
    <div class="column bird">
        <div class="content">
            <img src="https://cdn.hipwallpaper.com/i/82/55/SrnmFe.jpeg" alt="Bird" style="width:100%">
            <h4>Woman</h4>
            <p>Lorem ipsum dolor..</p>
        </div>
    </div>
    <!-- END GRID -->
</div>
<style>
    * {
        box-sizing: border-box;
    }

    body {
        background-color: #f1f1f1;
        padding: 20px;
        font-family: Arial;
    }

    /* Center website */
    .main {
        max-width: 1000px;
        margin: auto;
    }

    h1 {
        font-size: 50px;
        word-break: break-all;
    }

    .row {
        margin: 8px -16px;
    }

    /* Add padding BETWEEN each column (if you want) */
    .row,
    .row > .column {
        padding: 8px;
    }

    /* Create three equal columns that floats next to each other */
    .column {
        float: left;
        width: 33.33%;
        display: none; /* Hide columns by default */
    }

    /* Clear floats after rows */
    .row:after {
        content: "";
        display: table;
        clear: both;
    }

    /* Content */
    .content {
        background-color: white;
        padding: 10px;
    }

    /* The "show" class is added to the filtered elements */
    .show {
        display: block;
    }

    /* Style the buttons */
    .btn {
        border: none;
        outline: none;
        padding: 12px 16px;
        background-color: white;
        cursor: pointer;
    }

    /* Add a grey background color on mouse-over */
    .btn:hover {
        background-color: #ddd;
    }

    /* Add a dark background color to the active button */
    .btn.active {
        background-color: #666;
        color: white;
    }
</style>
<script>
    filterSelection("all") // Execute the function and show all columns
    function filterSelection(c) {
        var x, i;
        x = document.getElementsByClassName("column");
        if (c == "all") c = "";
        // Add the "show" class (display:block) to the filtered elements, and remove the "show" class from the elements that are not selected
        for (i = 0; i < x.length; i++) {
            w3RemoveClass(x[i], "show");
            if (x[i].className.indexOf(c) > -1) w3AddClass(x[i], "show");
        }
    }

    // Show filtered elements
    function w3AddClass(element, name) {
        var i, arr1, arr2;
        arr1 = element.className.split(" ");
        arr2 = name.split(" ");
        for (i = 0; i < arr2.length; i++) {
            if (arr1.indexOf(arr2[i]) == -1) {
                element.className += " " + arr2[i];
            }
        }
    }

    // Hide elements that are not selected
    function w3RemoveClass(element, name) {
        var i, arr1, arr2;
        arr1 = element.className.split(" ");
        arr2 = name.split(" ");
        for (i = 0; i < arr2.length; i++) {
            while (arr1.indexOf(arr2[i]) > -1) {
                arr1.splice(arr1.indexOf(arr2[i]), 1);
            }
        }
        element.className = arr1.join(" ");
    }

    // Add active class to the current button (highlight it)
    var btnContainer = document.getElementById("myBtnContainer");
    var btns = btnContainer.getElementsByClassName("btn");
    for (var i = 0; i < btns.length; i++) {
        btns[i].addEventListener("click", function(){
            var current = document.getElementsByClassName("active");
            current[0].className = current[0].className.replace(" active", "");
            this.className += " active";
        });
    }
</script>
<!DOCTYPE html>
<html>
<head>
    <title>How Do I Create A Portfolio Gallery With Filtering</title>
    <meta name="viewport" content="width=device-width, initial-scale=1.0">
    <link href="//maxcdn.bootstrapcdn.com/bootstrap/3.3.0/css/bootstrap.min.css" rel="stylesheet">
</head>
<style>
    * {
        box-sizing: border-box;
    }

    body {
        background-color: #f1f1f1;
        padding: 20px;
        font-family: Arial;
    }

    /* Center website */
    .main {
        max-width: 1000px;
        margin: auto;
    }

    h1 {
        font-size: 50px;
        word-break: break-all;
    }

    .row {
        margin: 8px -16px;
    }

    /* Add padding BETWEEN each column (if you want) */
    .row,
    .row > .column {
        padding: 8px;
    }

    /* Create three equal columns that floats next to each other */
    .column {
        float: left;
        width: 33.33%;
        display: none; /* Hide columns by default */
    }

    /* Clear floats after rows */
    .row:after {
        content: "";
        display: table;
        clear: both;
    }

    /* Content */
    .content {
        background-color: white;
        padding: 10px;
    }

    /* The "show" class is added to the filtered elements */
    .show {
        display: block;
    }

    /* Style the buttons */
    .btn {
        border: none;
        outline: none;
        padding: 12px 16px;
        background-color: white;
        cursor: pointer;
    }

    /* Add a grey background color on mouse-over */
    .btn:hover {
        background-color: #ddd;
    }

    /* Add a dark background color to the active button */
    .btn.active {
        background-color: #666;
        color: white;
    }
</style>
<body>
<br/><br/>
<div class="text-center">
    <h1 id="color" style="color: black;"> Portfolio Gallery With Filtering

    </h1>
</div>
<h2>PORTFOLIO</h2>
<div id="myBtnContainer">
    <button class="btn active" onclick="filterSelection('all')"> Show all</button>
    <button class="btn" onclick="filterSelection('nature')"> Nature</button>
    <button class="btn" onclick="filterSelection('animal')"> Animal</button>
    <button class="btn" onclick="filterSelection('bird')"> Bird</button>
</div>

<!-- Portfolio Gallery Grid -->
<div class="row">
    <div class="column nature">
        <div class="content">
            <img src="https://cdn.hipwallpaper.com/i/42/85/qXM4WS.jpg" alt="Mountains" style="width:100%">
            <h4>Mountains</h4>
            <p>Lorem ipsum dolor..</p>
        </div>
    </div>
    <div class="column nature">
        <div class="content">
            <img src="https://cdn.hipwallpaper.com/i/28/73/LKwCQe.jpg" alt="Lights" style="width:100%">
            <h4>Lights</h4>
            <p>Lorem ipsum dolor..</p>
        </div>
    </div>
    <div class="column nature">
        <div class="content">
            <img src="https://cdn.hipwallpaper.com/i/43/93/RezcYW.jpg" alt="Nature" style="width:100%">
            <h4>Forest</h4>
            <p>Lorem ipsum dolor..</p>
        </div>
    </div>

    <div class="column animal">
        <div class="content">
            <img src="https://cdn.hipwallpaper.com/i/91/20/cBu8y5.jpg" alt="Animal" style="width:100%">
            <h4>Retro</h4>
            <p>Lorem ipsum dolor..</p>
        </div>
    </div>
    <div class="column animal">
        <div class="content">
            <img src="https://cdn.hipwallpaper.com/i/52/92/6YyufN.jpg" alt="Animal" style="width:100%">
            <h4>Fast</h4>
            <p>Lorem ipsum dolor..</p>
        </div>
    </div>
    <div class="column animal">
        <div class="content">
            <img src="https://cdn.hipwallpaper.com/i/60/49/A0eubB.jpg" alt="Animal" style="width:100%">
            <h4>Classic</h4>
            <p>Lorem ipsum dolor..</p>
        </div>
    </div>

    <div class="column bird">
        <div class="content">
            <img src="https://cdn.hipwallpaper.com/i/26/51/dBxNkv.jpg" alt="Bird" style="width:100%">
            <h4>Girl</h4>
            <p>Lorem ipsum dolor..</p>
        </div>
    </div>
    <div class="column bird">
        <div class="content">
            <img src="https://cdn.hipwallpaper.com/i/86/93/nA9gXQ.jpg" alt="Bird" style="width:100%">
            <h4>Man</h4>
            <p>Lorem ipsum dolor..</p>
        </div>
    </div>
    <div class="column bird">
        <div class="content">
            <img src="https://cdn.hipwallpaper.com/i/82/55/SrnmFe.jpeg" alt="Bird" style="width:100%">
            <h4>Woman</h4>
            <p>Lorem ipsum dolor..</p>
        </div>
    </div>
    <!-- END GRID -->
</div>
</body>
</html>
<script>
    filterSelection("all") // Execute the function and show all columns
    function filterSelection(c) {
        var x, i;
        x = document.getElementsByClassName("column");
        if (c == "all") c = "";
        // Add the "show" class (display:block) to the filtered elements, and remove the "show" class from the elements that are not selected
        for (i = 0; i < x.length; i++) {
            w3RemoveClass(x[i], "show");
            if (x[i].className.indexOf(c) > -1) w3AddClass(x[i], "show");
        }
    }

    // Show filtered elements
    function w3AddClass(element, name) {
        var i, arr1, arr2;
        arr1 = element.className.split(" ");
        arr2 = name.split(" ");
        for (i = 0; i < arr2.length; i++) {
            if (arr1.indexOf(arr2[i]) == -1) {
                element.className += " " + arr2[i];
            }
        }
    }

    // Hide elements that are not selected
    function w3RemoveClass(element, name) {
        var i, arr1, arr2;
        arr1 = element.className.split(" ");
        arr2 = name.split(" ");
        for (i = 0; i < arr2.length; i++) {
            while (arr1.indexOf(arr2[i]) > -1) {
                arr1.splice(arr1.indexOf(arr2[i]), 1);
            }
        }
        element.className = arr1.join(" ");
    }

    // Add active class to the current button (highlight it)
    var btnContainer = document.getElementById("myBtnContainer");
    var btns = btnContainer.getElementsByClassName("btn");
    for (var i = 0; i < btns.length; i++) {
        btns[i].addEventListener("click", function(){
            var current = document.getElementsByClassName("active");
            current[0].className = current[0].className.replace(" active", "");
            this.className += " active";
        });
    }
</script>