
 Posted By
Bajarangi soft ,
Posted On 12-10-2020
Posted By
Bajarangi soft ,
Posted On 12-10-2020
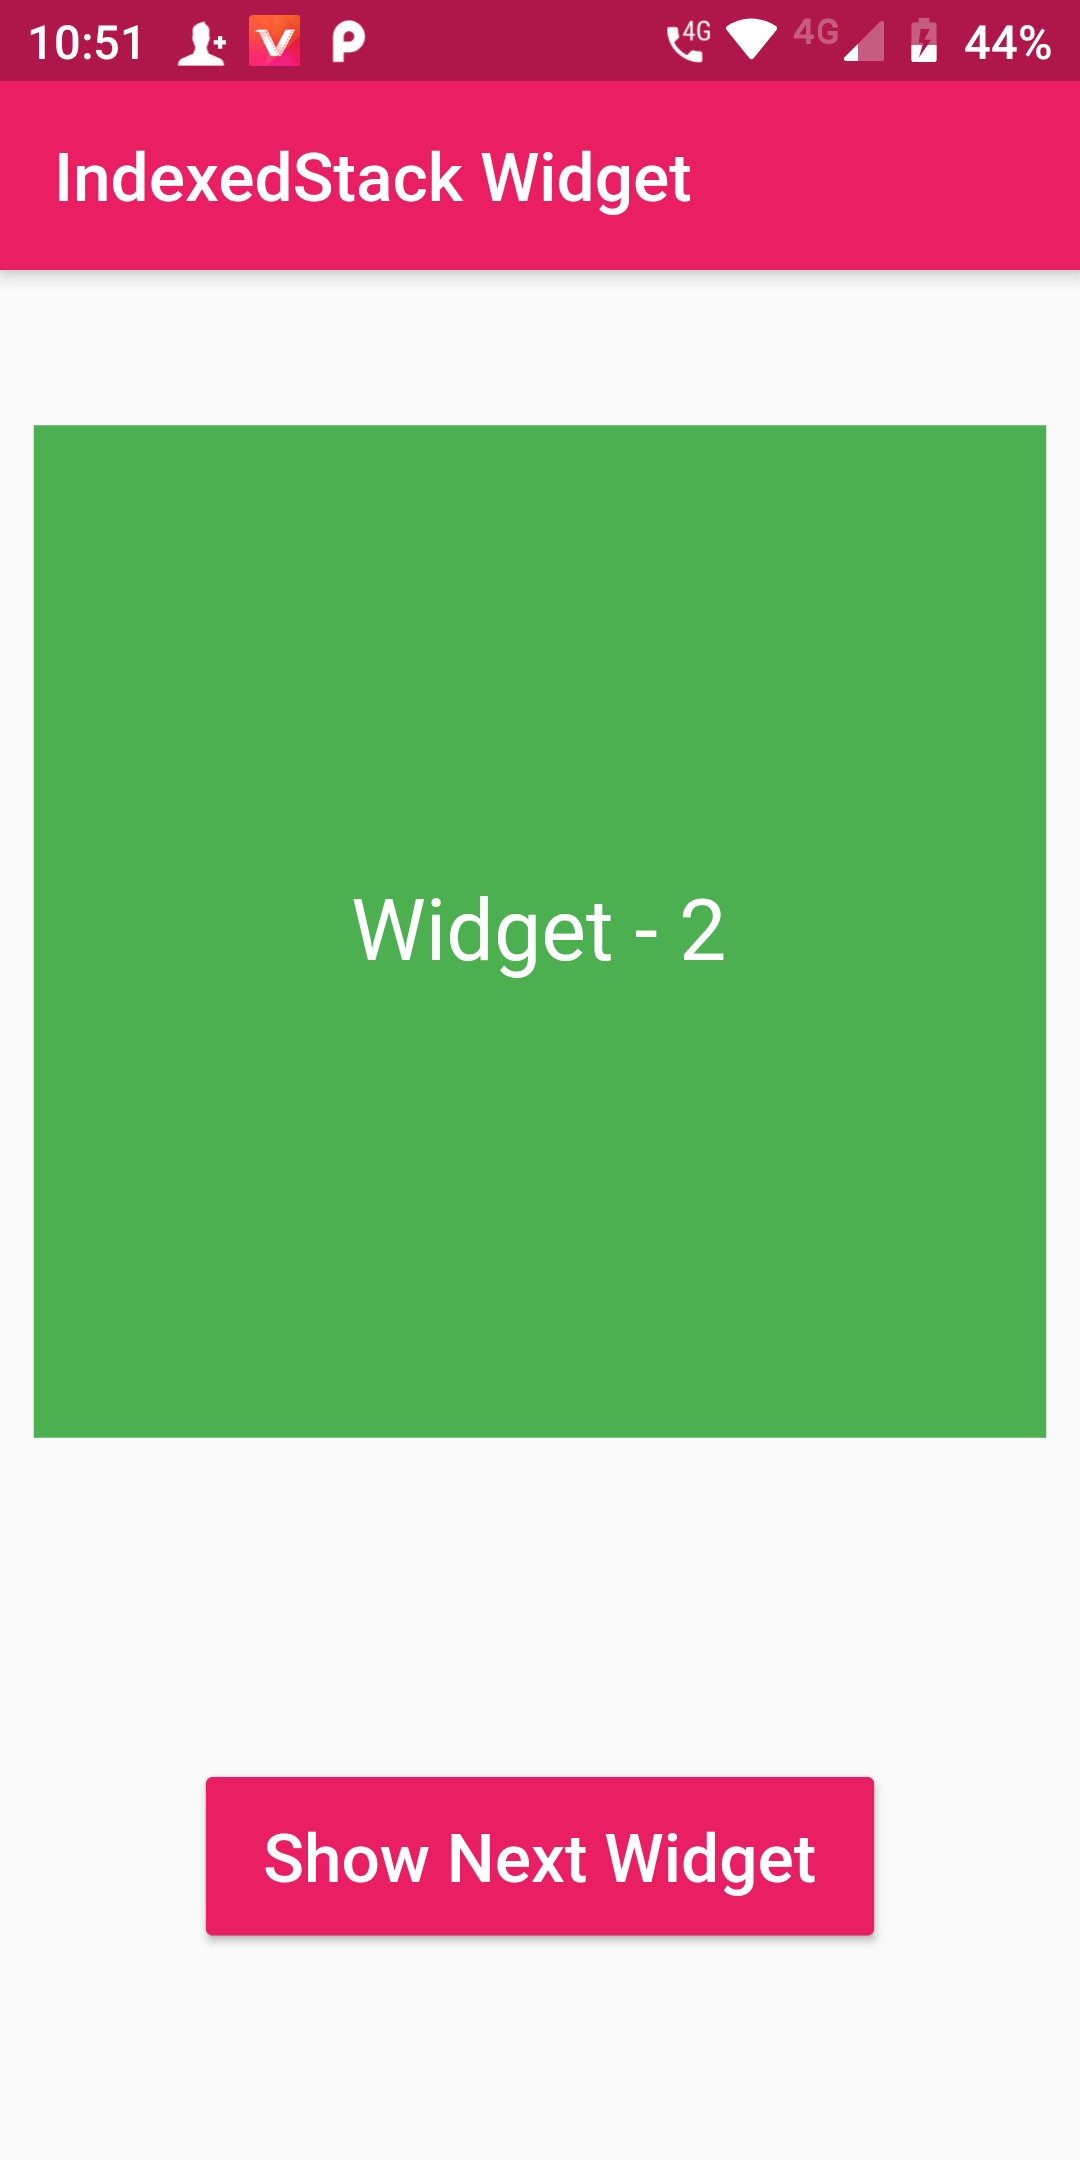
Indexed Stack Widget
Complete Code For Indexed Stack Widget In Flutter
main.dart
import 'package:flutter/material.dart';

void main() => runApp(MyApp());

class MyApp extends StatelessWidget {
  @override
  Widget build(BuildContext context) {
    return MaterialApp(
      debugShowCheckedModeBanner: false,
        home: Scaffold(
            body: Stack()
        )
    );
  }
}

class Stack extends StatefulWidget {
  StackState createState() => StackState();
}
class StackState extends State<Stack>{
  int indexPosition = 0 ;
  loadNextWidget(){
    if(indexPosition < 2){
      setState(() {
        indexPosition ++ ;
      });
    }
    else{
      setState(() {
        indexPosition = 0 ;
      });
    }
  }
  @override
  Widget build(BuildContext context) {
    return Scaffold(
        appBar: AppBar(
          backgroundColor: Colors.pink,
            title: Text('IndexedStack Widget')),
        body: Center(child: Column(
          mainAxisAlignment: MainAxisAlignment.center,
          children: <Widget>[
            IndexedStack(
              index: indexPosition,
              children: <Widget>[
                Container(
                    width: 300,
                    height: 300,
                    color: Colors.orange,
                    child: Center(
                        child: Text('Widget - 1',
                          style: TextStyle(fontSize: 25,
                              color: Colors.white),))
                ),
                Container(
                    width: 300,
                    height: 300,
                    color: Colors.green,
                    child: Center(
                        child: Text('Widget - 2',
                          style: TextStyle(fontSize: 25,
                              color: Colors.white),))
                ),
                Container(
                    width: 300,
                    height: 300,
                    color: Colors.red,
                    child: Center(
                        child: Text('Widget - 3',
                          style: TextStyle(fontSize: 25,
                              color: Colors.white),))
                ),

              ],
            ),
            Container(
                margin: const EdgeInsets.fromLTRB(20, 100, 20, 20),
                child:
                RaisedButton(
                  onPressed: () => loadNextWidget(),
                  child: Text(' Show Next Widget ', style: TextStyle(fontSize: 20),),
                  textColor: Colors.white,
                  color: Colors.pink,
                  padding: EdgeInsets.fromLTRB(12, 12, 12, 12),
                )
            )
          ],))
    );
  }
}