
 Posted By
Bajarangi soft ,
Posted On 30-10-2020
Posted By
Bajarangi soft ,
Posted On 30-10-2020
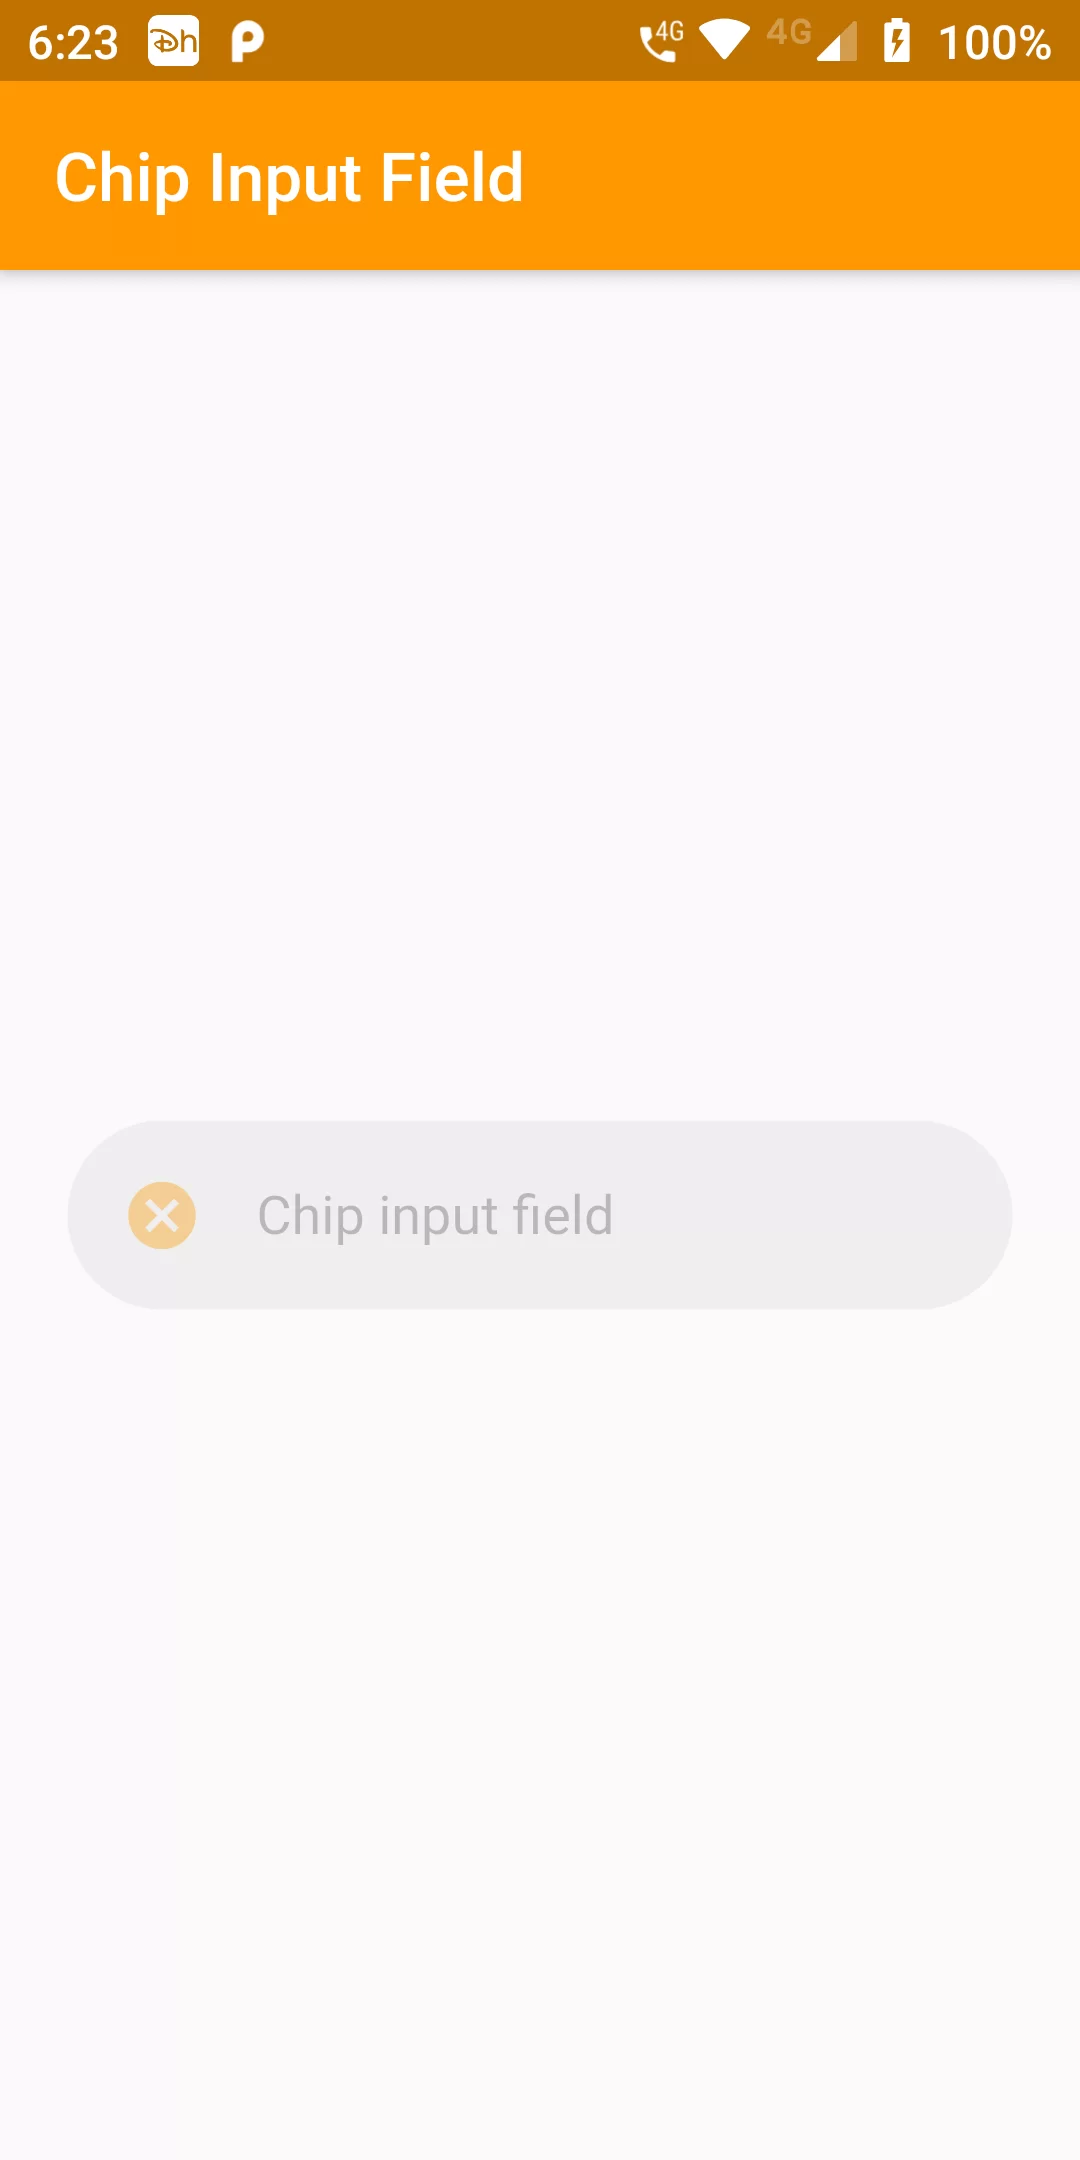
Chip Input Field
Complete Code For Chip Input Field In Flutter
main.dart
import 'package:flutter/material.dart';
void main() {
  runApp(new MyApp());
}
class MyApp extends StatelessWidget {
  @override
  Widget build(BuildContext context) {
    return new MaterialApp(
      debugShowCheckedModeBanner: false,
      title: 'Transform',
      home: new MyHomePage(),
    );
  }
}
class MyHomePage extends StatefulWidget {
  @override
  _MyHomePageState createState() => _MyHomePageState();
}
class _MyHomePageState extends State<MyHomePage> {
  TextEditingController _textFieldController = TextEditingController();
  @override
  Widget build(BuildContext context) {
    return Scaffold(
      appBar: AppBar(
        backgroundColor: Colors.orange,
        title: Text('Chip Input Field'),
      ),
      body: Center(
        child: Padding(
          //Add padding around textfield
          padding: EdgeInsets.symmetric(horizontal: 20.0),
          child: InputChip(
            avatar: Icon(
              Icons.cancel,
              color: Colors.orange,
            ),
            label: TextField(
              controller: _textFieldController,
              decoration: InputDecoration(
                  border: InputBorder.none,
                  hintText: " Chip input field"
              ),
            ),
            labelPadding: EdgeInsets.symmetric(horizontal: 0.0, vertical: 0.0),
          ),
        ),
      ),
    );
  }
}