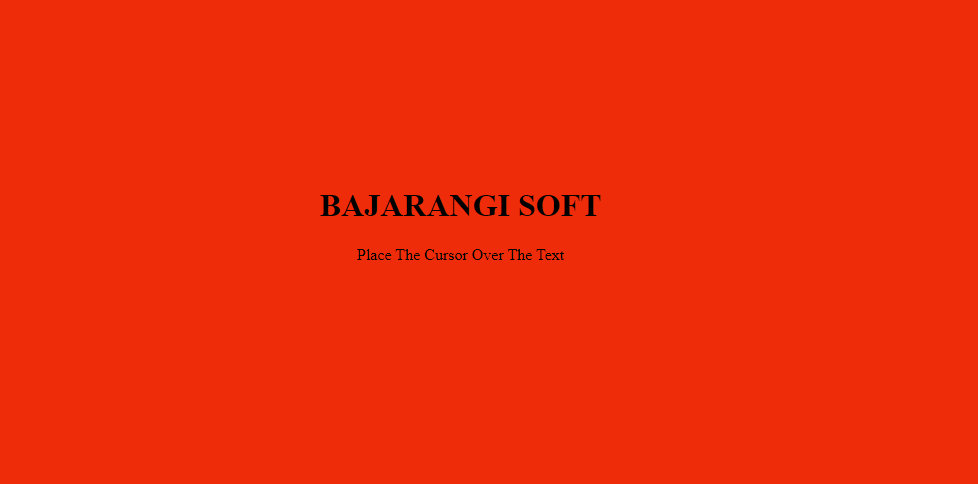
Approach: The approach of this animation is to divide the animation into two parts. The top and right will be done at one time using before, bottom and left are done at one time using after selector.
HTML Code: We have created HTML file and create a div in it with h1 inside div. Below is the code for the same.
<!DOCTYPE html>
<html lang="en">

<head>
    <meta charset="UTF-8" />
    <meta name="viewport" content=
            "width=device-width, initial-scale=1.0" />
    <title>BAJARANGI SOFT</title>
</head>

<body>
<div class="geeks">
    <h1>BAJARANGI SOFT</h1>
</div>
</body>

</html>
body {
margin: 0;
padding: 0;
background: #e8530c;
}

.geeks {
left: 40%;
top: 40%;
position: absolute;
width: 300px;
text-align: center;
}

h1 {
position: relative;
}
Step 2: The second step is creating top and right border.
.geeks::before {
content: "";
position: absolute;
top: -2px;
left: -2px;
width: 0;
height: 0;
background: transparent;
border: 2px solid transparent;
}

.geeks:hover::before {
animation: animate 1s linear forwards;
}

@keyframes animate {
0% {
width: 0;
height: 0;
border-top-color: black;
border-right-color: transparent;
border-bottom-color: transparent;
border-left-color: transparent;
}

50% {
width: 100%;
height: 0;
border-top-color: black;
border-right-color: black;
border-bottom-color: transparent;
border-left-color: transparent;
}

100% {
width: 100%;
height: 100%;
border-top-color: black;
border-right-color: black;
border-bottom-color: transparent;
border-left-color: transparent;
}
}
Step 3: Repeat the step-2 with after selector. Some key points to remember during this step are:
.geeks::after {
content: "";
position: absolute;
top: -2px;
left: -2px;
width: 0;
height: 0;
background: transparent;
border: 2px solid transparent;
}

.geeks:hover::after {
animation: animates 1s linear forwards;
}

@keyframes animates {
0% {
width: 0;
height: 0;
border-top-color: transparent;
border-right-color: transparent;
border-bottom-color: transparent;
border-left-color: black;
}

50% {
width: 0;
height: 100%;
border-top-color: transparent;
border-right-color: transparent;
border-bottom-color: black;
border-left-color: black;
}

100% {
width: 100%;
height: 100%;
border-top-color: transparent;
border-right-color: transparent;
border-bottom-color: black;
border-left-color: black;
}
}
<style>
    body {
        margin: 0;
        padding: 0;
        background: green;
    }

    .geeks {
        left: 40%;
        top: 40%;
        position: absolute;

        width: 300px;
        text-align: center;
    }

    h1 {
        position: relative;
    }

    .geeks::before {
        content: "";
        position: absolute;
        top: -2px;
        left: -2px;
        width: 0;
        height: 0;
        background: transparent;
        border: 2px solid transparent;
    }

    .geeks:hover::before {
        animation: animate 1s linear forwards;
    }

    @keyframes animate {
        0% {
            width: 0;
            height: 0;
            border-top-color: black;
            border-right-color: transparent;
            border-bottom-color: transparent;
            border-left-color: transparent;
        }

        50% {
            width: 100%;
            height: 0;
            border-top-color: black;
            border-right-color: black;
            border-bottom-color: transparent;
            border-left-color: transparent;
        }

        100% {
            width: 100%;
            height: 100%;
            border-top-color: black;
            border-right-color: black;
            border-bottom-color: transparent;
            border-left-color: transparent;
        }
    }

    .geeks::after {
        content: "";
        position: absolute;
        top: -2px;
        left: -2px;
        width: 0;
        height: 0;
        background: transparent;
        border: 2px solid transparent;
    }

    .geeks:hover::after {
        animation: animates 1s linear forwards;
    }

    @keyframes animates {
        0% {
            width: 0;
            height: 0;
            border-top-color: transparent;
            border-right-color: transparent;
            border-bottom-color: transparent;
            border-left-color: black;
        }

        50% {
            width: 0;
            height: 100%;
            border-top-color: transparent;
            border-right-color: transparent;
            border-bottom-color: black;
            border-left-color: black;
        }

        100% {
            width: 100%;
            height: 100%;
            border-top-color: transparent;
            border-right-color: transparent;
            border-bottom-color: black;
            border-left-color: black;
        }
    }
</style>
<!DOCTYPE html>
<html lang="en">

<head>
    <meta charset="UTF-8" />
    <meta name="viewport" content=
            "width=device-width, initial-scale=1.0" />
    <title>BAJARANGI SOFT</title>
    <style>
        body {
            margin: 0;
            padding: 0;
            background: #ee2c0a;
        }

        .geeks {
            left: 40%;
            top: 40%;
            position: absolute;

            width: 300px;
            text-align: center;
        }

        h1 {
            position: relative;
        }

        .geeks::before {
            content: "";
            position: absolute;
            top: -2px;
            left: -2px;
            width: 0;
            height: 0;
            background: transparent;
            border: 2px solid transparent;
        }

        .geeks:hover::before {
            animation: animate 1s linear forwards;
        }

        @keyframes animate {
            0% {
                width: 0;
                height: 0;
                border-top-color: black;
                border-right-color: transparent;
                border-bottom-color: transparent;
                border-left-color: transparent;
            }

            50% {
                width: 100%;
                height: 0;
                border-top-color: black;
                border-right-color: black;
                border-bottom-color: transparent;
                border-left-color: transparent;
            }

            100% {
                width: 100%;
                height: 100%;
                border-top-color: black;
                border-right-color: black;
                border-bottom-color: transparent;
                border-left-color: transparent;
            }
        }

        .geeks::after {
            content: "";
            position: absolute;
            top: -2px;
            left: -2px;
            width: 0;
            height: 0;
            background: transparent;
            border: 2px solid transparent;
        }

        .geeks:hover::after {
            animation: animates 1s linear forwards;
        }

        @keyframes animates {
            0% {
                width: 0;
                height: 0;
                border-top-color: transparent;
                border-right-color: transparent;
                border-bottom-color: transparent;
                border-left-color: black;
            }

            50% {
                width: 0;
                height: 100%;
                border-top-color: transparent;
                border-right-color: transparent;
                border-bottom-color: black;
                border-left-color: black;
            }

            100% {
                width: 100%;
                height: 100%;
                border-top-color: transparent;
                border-right-color: transparent;
                border-bottom-color: black;
                border-left-color: black;
            }
        }
    </style>
</head>

<body>
<div class="geeks">
    <h1>BAJARANGI SOFT</h1>
    <p>Place The Cursor Over The Text</p>
</div>
</body>

</html>