
 Posted By
Bajarangi soft ,
Posted On 27-01-2021
Posted By
Bajarangi soft ,
Posted On 27-01-2021
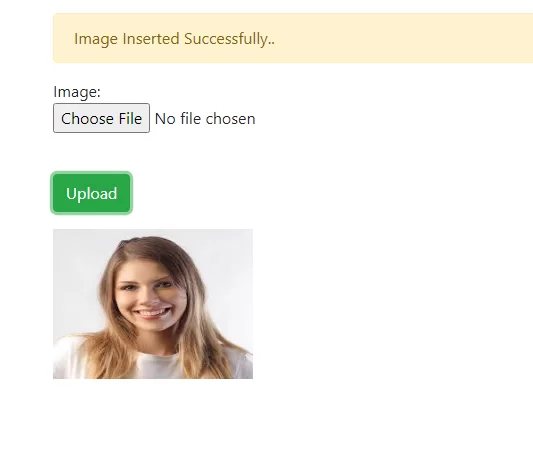
Step 1:Create a table and model for Image Uploading and inserting.
class Image extends Model
{
public $table = 'image';
protected $fillable = [
'name','password','confirm_password','image'
];
}
<html>
<head>
<title>Image</title>
<meta name="csrf-token" content="{{ csrf_token() }}">
<link rel='stylesheet' href='style.css'/>
<link rel="stylesheet" href="https://maxcdn.bootstrapcdn.com/bootstrap/4.0.0/css/bootstrap.min.css" integrity="sha384-Gn5384xqQ1aoWXA+058RXPxPg6fy4IWvTNh0E263XmFcJlSAwiGgFAW/dAiS6JXm" crossorigin="anonymous">
<script src="https://code.jquery.com/jquery-3.3.1.min.js"></script>
<script src="https://code.jquery.com/jquery-3.5.1.min.js"></script>
<script src='script.js'></script>
</head>
<br>
<body>
<div id="main_container" class="container">
<div class="alert alert-warning" id="message" style="display: none"></div>
<div class="row">
<form id="preview" method="POST" action="javascript:void(0)" accept-charset="utf-8" enctype="multipart/form-data">
@csrf
<div class="col-md-6">
{{ csrf_field() }}
<div class="form-group">
<div id="birth_date_input" class="control-label">Image:
<input type="file" id="images" name="images" >
</div>
</div>
</div>
<div class="col-md-6">
<button id="imgbtn" class="btn btn-success" style="margin-top: 25px;">Upload</button>
</div>
<div class="row">
<div class="col-md-12">
<div id="age_container"><span id="exact_age"></span></div>
<div id="age_container"><span id="exact_age1"></span></div>
<div id="age_container"><span id="exact_age2"></span></div>
</div>
</div>
</form>
</div>
<div class="show-multiple-image-preview"> </div>
</div>
<script>
$(document).ready(function (e) {
$.ajaxSetup({
headers: {
'X-CSRF-TOKEN': $('meta[name="csrf-token"]').attr('content')
}
});
$(function() {
var ShowMultipleImagePreview = function(input, imgPreviewPlaceholder)
{
if (input.files) {
var filesAmount = input.files.length;
for (i = 0; i < filesAmount; i++)
{
var reader = new FileReader();
reader.onload = function(event)
{
$($.parseHTML('<img width="200" height="150">')).attr('src', event.target.result).appendTo(imgPreviewPlaceholder);
}
reader.readAsDataURL(input.files[i]);
}
}
};
$('#images').on('change', function()
{
ShowMultipleImagePreview(this, 'div.show-multiple-image-preview');
});
});
$('#preview').submit(function(e)
{
e.preventDefault();
let formData = new FormData(this);
$.ajax({
type:'POST',
url: "{{ url('upload')}}",
data: formData,
cache:false,
contentType: false,
processData: false,
success: (data) => {
this.reset();
$('#message').css('display', 'block');
$('#message').html(data.message);
setTimeout(function() {
$('#message').fadeOut('slow');
}, 5000);
},
error: function(data){
console.log(data);
}
});
});
});
</script>
</script>
</body>
</html>
function store(Request $request)
{
if($request->TotalImages > 0)
{
$validatedData = $request->validate([
'images' => 'required',
'images.*' => 'mimes:jpg,png,jpeg,gif,svg'
]);
if ($request->hasFile('images')) {
$file = $request->file('images');
$filename = $file->getClientOriginalName();
$extension = $file->getClientOriginalExtension();
$picture = date('His').'-'.$filename;
$file->move(public_path('images/'), $picture);
$value= ['images' => $picture,];
Image::insert($value);
}
return response()->json([
'message' => 'Multiple Images Inserted Successfully..',
]);
}
}
Route::post('upload', 'ImageController@store');