
 Posted By
Bajarangi soft ,
Posted On 27-11-2020
Posted By
Bajarangi soft ,
Posted On 27-11-2020
Let's learn
1.Install new laravel project to implement code. https://laravel.com/docs/5.8/installation
composer create-project --prefer-dist laravel/laravel blog
3.Install npm package for blog project.click here to see the documentation.Install the dependencies in the local node_modules folder.
npm install
<template>
<div class="container">
<div class="row justify-content-center">
<div class="col-md-8">
<div class="card">
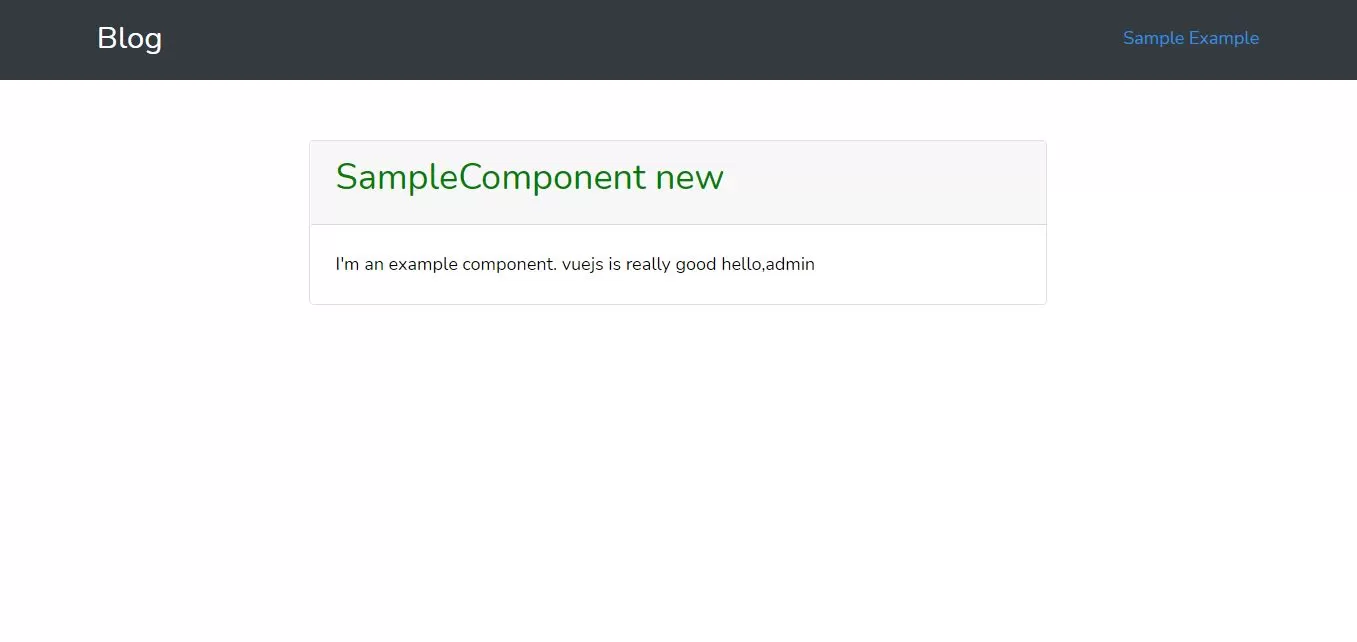
<div class="card-header"><h2>SampleComponent new </h2></div>
<div class="card-body">
I'm an example component.
vuejs is really good
hello,{{name}}
</div>
</div>
</div>
</div>
</div>
</template>
<script type="text/javascript">
export default {
mounted() {
console.log(' Sample component!!!!!!.')
},
data(){
return{
name:"admin"
}
}
}
</script>
<style type="text/css" scoped>
h2{
color:green;
}
</style>
5.Now open resources/js/app.js and inclucde vue files in SampleComponent.vue file.
app.js
require('./bootstrap');

window.Vue = require('vue');

import VueRouter from 'vue-router'
Vue.use(VueRouter)

const example = require('./components/ExampleComponent.vue').default;
const sample = require('./components/SampleComponent.vue').default;

const routes=[
    {
        path: '/example',
        component: example
    },
    {
        path: '/sample',
        component: sample
    },

];

const router=new VueRouter({
    routes
});
const app = new Vue({
    el: '#app',
    router,
    data: {
    },
});
<!DOCTYPE html>
<html lang="{{ str_replace('_', '-', app()->getLocale()) }}">
    <head>
        <meta charset="utf-8">
        <meta name="viewport" content="width=device-width, initial-scale=1">

        <title>Vuejs auto reload digital clock</title>
        <link href="{{asset('css/app.css')}}" rel="stylesheet">
        <meta name="csrf-token" content="{{csrf_token()}}"/>
        <!-- Fonts -->


        <!-- Styles -->
        <style>
            html, body {
                color: black;
                font-family: 'Nunito', sans-serif;
                font-weight: 200;
                height: 100vh;
                margin: 0;
                background:white;

            }
            .title-title{
                font-size: 70px;
            }
            .position-ref {
                position: relative;
            }

            .top-right {
                position: absolute;
                right: 10px;
                top: 18px;
            }

            .content {
                text-align: center;
            }

            .title {
                font-size: 84px;
            }

            .links > a {
                color: #636b6f;
                padding: 0 25px;
                font-size: 13px;
                font-weight: 600;
                letter-spacing: .1rem;
                text-decoration: none;
                text-transform: uppercase;
            }

            .m-b-md {
                margin-bottom: 30px;
            }
        </style>
    </head>
    <body >
    <div id="app">
        <nav class="navbar navbar-expand-lg navbar-light bg-dark">
            <div class="container">
                <a class="navbar-brand  text-white" href="#" style="font-size: 25px">Blog</a>
                <button class="navbar-toggler" type="button" data-toggle="collapse" data-target="#navbarSupportedContent" aria-controls="navbarSupportedContent" aria-expanded="false" aria-label="Toggle navigation">
                    <span class="navbar-toggler-icon"></span>
                </button>
                <div class="collapse navbar-collapse" id="navbarSupportedContent">
                    <ul class="navbar-nav ml-auto text-white">
                        <li class="text-white">
                            <router-link to="/sample">Sample</router-link>
                            <router-link to="/example">Example</router-link>
                        </li>
                    </ul>
                </div>
            </div>
        </nav>

        <div class="container mt-5">
            <router-view></router-view>
        </div>

    </div>

    <script src="{{asset('js/app.js')}}"></script>
    </body>

</html>
npm run dev active and updates only when you run command.
npm run watch does the same, but then it stays active and "watches" for updates.vue and .js files. If it detects a change so you can just refresh the page.
8.Now run below url in google chrome.
http://localhost/blog/public/