
 Posted By
Bajarangi soft ,
Posted On 29-11-2020
Posted By
Bajarangi soft ,
Posted On 29-11-2020
Step 1:Install nodejs and vuejs in laravel project .
To Know more about Installation visit oue bajarangisoft.
Step 2: Open resource/js/app.js and implement code as below to create component
Example 1
In this just we add component
require('./bootstrap');

window.Vue = require('vue');

import VueRouter from 'vue-router'
Vue.use(VueRouter)

const example = require('./components/ExampleComponent.vue').default;
const routes=[

    {
        path: '/example',
        component: example
    },

];


const router=new VueRouter({
    routes
});
const app = new Vue({
    el: '#app',
    router,
    data: {

    },
    components:{
        'testcomponent': {
            template : '<div><h1>Am test component</h1></div>'
        }
    }
});
require('./bootstrap');

window.Vue = require('vue');

import VueRouter from 'vue-router'
Vue.use(VueRouter)

const example = require('./components/ExampleComponent.vue').default;

const routes=[
    {
        path: '/example',
        component: example
    },
   ];


const router=new VueRouter({
    routes
});
const app = new Vue({
    el: '#app',
    router,
    data: {

    },
    components:{
        'testcomponent': {
            template : '<div v-on:mouseover = "changename()" v-on:mouseout = "originalname();"><h1>Custom Component created by <span id = "name">{{name}}</span></h1></div>',
            data: function() {
                return {
                    name : "Nike"
                }
            },
            methods:{
                changename : function() {
                    this.name = "You";
                },
                originalname: function() {
                    this.name = "Nike";
                }
            }
        }
    }
});
<!DOCTYPE html>
<html lang="{{ str_replace('_', '-', app()->getLocale()) }}">
<head>
    <meta charset="utf-8">
    <meta name="viewport" content="width=device-width, initial-scale=1">

    <title>Vuejs with laravel</title>
    <link href="{{asset('css/app.css')}}" rel="stylesheet">
    <meta name="csrf-token" content="{{csrf_token()}}"/>
    <!-- Fonts -->


    <!-- Styles -->
    <style>
        html, body {
            color: black;
            font-family: 'Nunito', sans-serif;
            font-weight: 200;
            height: 100vh;
            margin: 0;
            background:white;

        }
        .title-title{
            font-size: 70px;
        }
        .position-ref {
            position: relative;
        }

        .top-right {
            position: absolute;
            right: 10px;
            top: 18px;
        }

        .content {
            text-align: center;
        }

        .title {
            font-size: 84px;
        }

        .links > a {
            color: #636b6f;
            padding: 0 25px;
            font-size: 13px;
            font-weight: 600;
            letter-spacing: .1rem;
            text-decoration: none;
            text-transform: uppercase;
        }

        .m-b-md {
            margin-bottom: 30px;
        }
        a {
            color: white;
            text-decoration: none;
            background-color: transparent;
        }
        a:hover {
            color: white;
            text-decoration: underline;
        }
        img{
            margin-left: 34%;

        }
    </style>
</head>
<body >
<div id="app">

    <nav class="navbar navbar-expand-lg navbar-light bg-dark">
        <div class="container">
            <a class="navbar-brand  text-white" href="#" style="font-size: 25px">Blog</a>
            <button class="navbar-toggler" type="button" data-toggle="collapse" data-target="#navbarSupportedContent" aria-controls="navbarSupportedContent" aria-expanded="false" aria-label="Toggle navigation">
                <span class="navbar-toggler-icon"></span>
            </button>

            <div class="collapse navbar-collapse" id="navbarSupportedContent">
                <ul class="navbar-nav ml-auto text-white">
                    <li class="text-white">
                         <router-link to="/example">Example</router-link>
                    </li>
                </ul>
            </div>
        </div>
    </nav>
    <div class="container mt-5">
        <testcomponent></testcomponent>
        <br><br><br>
        <router-view></router-view>

    </div>
</div>

<script src="{{asset('js/app.js')}}"></script>
</body>

</html>
Step 4: Run command npm run watch.
npm run dev active and updates only when you run command.
npm run watch does the same, but then it stays active and "watches" for updates.vue and .js files. If it detects a change so you can just refresh the page.
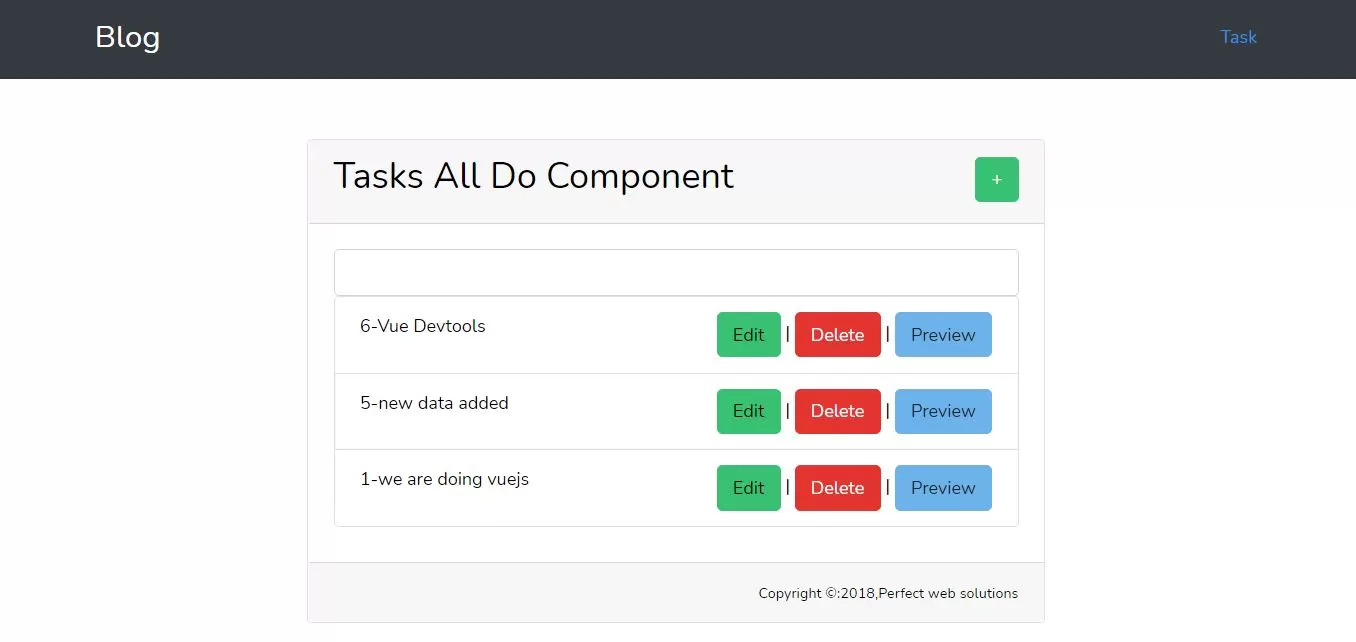
Step 5:Now we pass url in google chrome
http://localhost/blog/public/