
 Posted By
Bajarangi soft ,
Posted On 25-09-2020
Posted By
Bajarangi soft ,
Posted On 25-09-2020
The document.addEventListener() method attaches an event handler to the document.
Using the document.removeEventListener() method to remove an event handler that has been attached with the addEventListener() method and also the element.addEventListener() method to attach an event handler to a specified element.
Syntax and Usage
document.addEventListener(event, function, useCapture)
Parameter Values
event                       Required. A String that specifies the name of the event.
                            Note: Do not use the "on" prefix. For example, use "click" instead of "onclick".
                            For a list of all HTML DOM events, look at our complete HTML DOM Event Object Reference.

function                    Required. Specifies the function to run when the event occurs.
                            When the event occurs, an event object is passed to the function as the first parameter.
                            The type of the event object depends on the specified event.
                            For example, the "click" event belongs to the MouseEvent object.

useCapture                  Optional. A Boolean value that specifies whether the event should be
                            executed in the capturing or in the   bubbling phase.

                            Possible values:
                            true - The event handler is executed in the capturing phase
                            false- Default. The event handler is executed in the bubbling phase
Example(1)
<script>
document.addEventListener("click", function(){
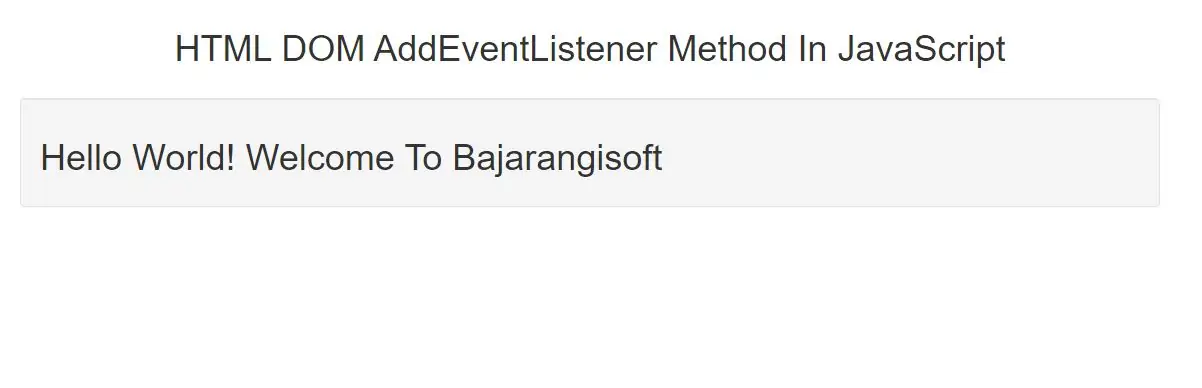
document.getElementById("demo").innerHTML = "Hello World! Welcome To Bajarangisoft";
});
</script>
In above example attach a click event to the document. When the user clicks anywhere in the document, output "Hello World Welcome to bajarangisoft" in a <p> element with id="demo":
document.addEventListener("click", myFunction);

function myFunction() {
document.getElementById("demo").innerHTML = "Hello World! Welcome To Bajarangisoft";
}
In above example calling created function when user click mouse on documnet.
<script>
    document.addEventListener("click", myFunction);
    document.addEventListener("click", someOtherFunction);

    function myFunction() {
        alert ("Hello World! Welcome To Bajarangisoft")
    }

    function someOtherFunction() {
        alert ("This function was also executed!")
    }
</script>
We can also get alert dialog box when we click any where in window screen with mouse.You can add many events to the document, without overwriting existing events.This example demonstrates how to add two click events to the document:
Complete code for HTML DOM AddEventListener Method In JavaScript
<!DOCTYPE html>
<html>
<head>
    <title>HTML DOM AddEventListener Method In JavaScript</title>
    <meta charset="utf-8">
    <meta name="viewport" content="width=device-width, initial-scale=1">
    <link rel="stylesheet" href="https://maxcdn.bootstrapcdn.com/bootstrap/3.4.1/css/bootstrap.min.css">
</head>
<body>
<div class="container">
    <div class="text-center">
        <h1>HTML DOM AddEventListener Method In JavaScript</h1>
    </div>
    <br>
    <div class="well">
        <h1 id="demo"></h1>
    </div>
    <br>
</div>
</body>
</html>
<script>

    document.addEventListener("click", function(){
        document.getElementById("demo").innerHTML = "Hello World! Welcome To Bajarangisoft";
    });
</script>