
 Posted By
Bajarangi soft ,
Posted On 19-01-2021
Posted By
Bajarangi soft ,
Posted On 19-01-2021
Step 1:Create a table and model for updating data.
class Contry extends Model
{
public $table = 'product';
protected $fillable = [
'product_name', 'product_title',
];
}
<!DOCTYPE html>
<html lang="{{ str_replace('_', '-', app()->getLocale()) }}">
<head>
<meta charset="utf-8">
<meta name="viewport" content="width=device-width, initial-scale=1">
<title>Laravel</title>
<!-- Styles -->
<link rel="stylesheet" href="https://maxcdn.bootstrapcdn.com/bootstrap/4.0.0/css/bootstrap.min.css" integrity="sha384-Gn5384xqQ1aoWXA+058RXPxPg6fy4IWvTNh0E263XmFcJlSAwiGgFAW/dAiS6JXm" crossorigin="anonymous">
</head>
<body>
<div id="alert" class="alert-success new-window" data-message="my message">
</div>
<div class="container">
<div class="form-group">
<label class="control-label col-sm-offset-2 col-sm-3" for="company">Product Name:</label>
<input type="text" name="product_name" id="product_name">
</div><br>
<div class="form-group">
<label class="control-label col-sm-offset-2 col-sm-3" for="company">Product Title:</label>
<input type="text" name="product_title" id="product_title">
</div><br>
<div class="form-group">
<div class="col-sm-8 col-sm-3">
<button type="submit" id="Save" class="btn btn-success save" >Submit</button>
</div>
</div>
</div>
</body>
<script src="https://ajax.googleapis.com/ajax/libs/jquery/3.5.1/jquery.min.js"></script>
<script src="https://cdnjs.cloudflare.com/ajax/libs/popper.js/1.12.9/umd/popper.min.js" integrity="sha384-ApNbgh9B+Y1QKtv3Rn7W3mgPxhU9K/ScQsAP7hUibX39j7fakFPskvXusvfa0b4Q" crossorigin="anonymous"></script>
<script src="https://maxcdn.bootstrapcdn.com/bootstrap/4.0.0/js/bootstrap.min.js" integrity="sha384-JZR6Spejh4U02d8jOt6vLEHfe/JQGiRRSQQxSfFWpi1MquVdAyjUar5+76PVCmYl" crossorigin="anonymous"></script>
<!-- <script src="https://code.jquery.com/jquery-3.1.1.slim.min.js"></script> -->
<script type="text/javascript">
$("#Save").click(function(event) {
event.preventDefault();
var product_name = $("#product_name").val();
var product_title = $("#product_title").val();
$.ajax({
type: "post",
url: "{{ url('insert') }}",
dataType: "json",
data:{"_token": "{{ csrf_token() }}",product_name:product_name,product_title,product_title} ,
success: function(data){
$('#alert').text('Data Inserted Successfully..');
setTimeout(function() {
$('#alert').fadeOut('slow');
}, 5000);
$('#product_name').val('');
$('#product_title').val('');
},
error: function(data){
alert("Error")
}
});
});
</script>
</html>
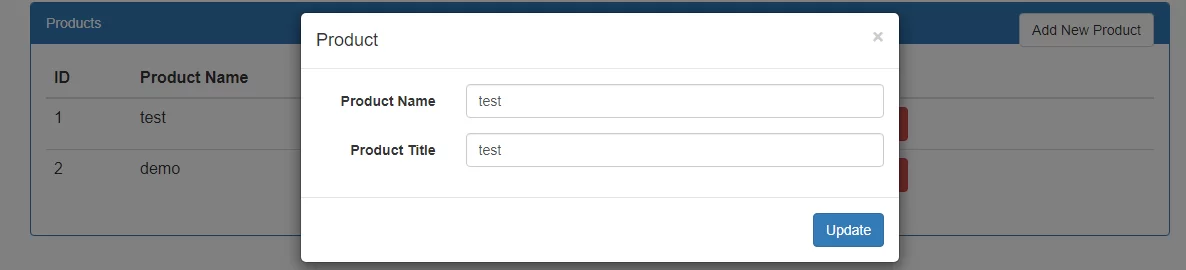
public function edit($id)
{
$data = Contry::findOrFail($id);
return response()->json(['data' => $data]);
}
public function update($id,Request $request)
{
$rules = array(
'product_name' => 'required',
'product_title' => 'required'
);
$data = array(
'product_name' => $request->product_name,
'product_title' => $request->product_title
);
Contry::where('id', $id)->update($data);
return response()->json(200);
}
Route::post('update/{id}', 'BlogController@update');
Route::get('/edit/{id}', 'BlogController@edit');