How To Apply Two Css Classes To a Single Elements

admin_img Posted By Bajarangi soft , Posted On 10-10-2020

Multiple classes can be applied to a single element in HTML and they can be styled using CSS. In this article, we will stick to only two classes. But the concepts used in assigning two classes can be extended to multiple classes as well.

Two Css Classes To a Single Elements

Assigning classes to an element in HTML:
The names of the classes can be written within the “class” attribute.
Note: The names of the classes must be space separated.

Syntax:

<tag_name class="class_1 class_2">
Then the classes can be either styled individually using “.class_1” and “.class_2” or that element could be styled only that contains both of the classes using “.class_1.class_2“.
Styling Individually: Both of the classes in the following example are styled individually.

Syntax:
tyle>
    .class_1{
        /* some styles */
    }
  
    .class_2{
        /* some styles */
    }
</style>
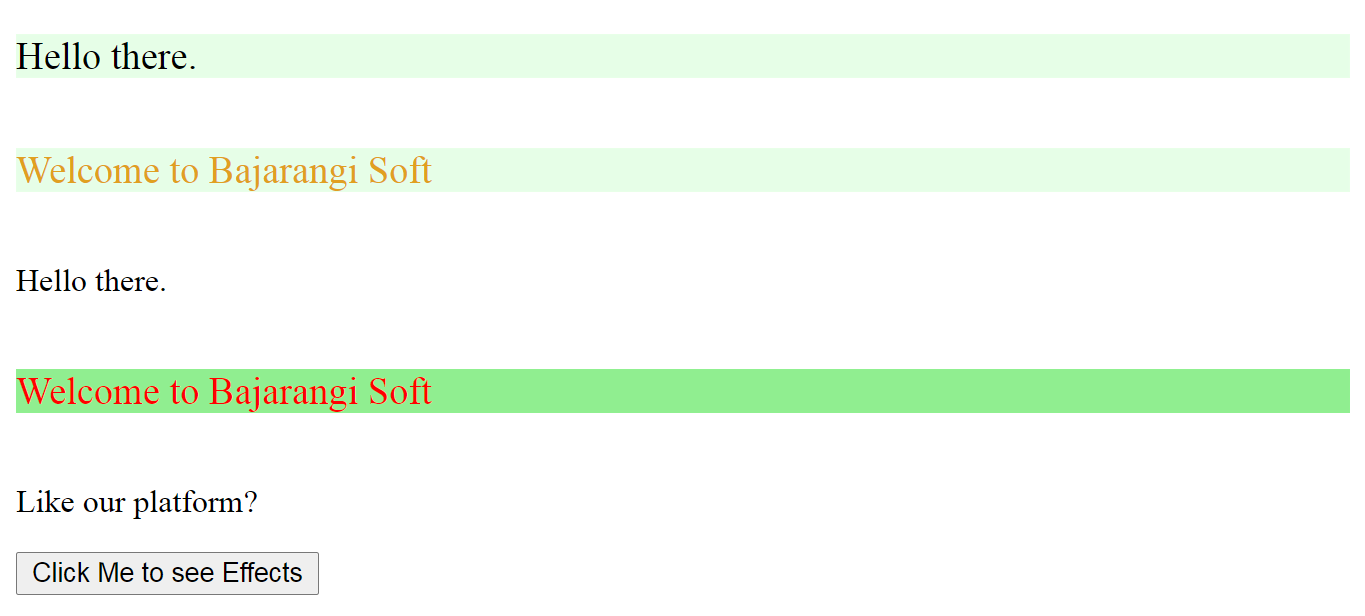
Example 1:
<!DOCTYPE html>
<html lang="en">

<head>
    <meta charset="UTF-8">
    <title>
        How to apply two CSS classes
        to a single element ?
    </title>

    <style>
        .para {
            font-size: larger;
            margin-bottom: 35px;
            background-color: rgba(11, 245, 23, 0.1);
        }

        .second_para {
            color: #e2a120;
        }
    </style>
</head>

<body>
<p class="para">
    Hello there.
</p>

<p class="para second_para">
    Welcome to Bajarangi Soft
</p>
</body>

</html>
Styling element containing both classes: The element containing both of the classes will be styled only. All the other elements containing either one or zero of the two classes will not be styled.
Note: In CSS selector, there is no space between the class names.

Syntax:
<style>
    .class_1.class_2{
        /* some styles */
    }
</style>
Example 2:
<!DOCTYPE html>
<html lang="en">

<head>
    <meta charset="UTF-8">
    <title>
        How to apply two CSS classes
        to a single element?
    </title>

    <style>
        .para.second {
            font-size: larger;
            margin-bottom: 35px;
            margin-top: 35px;
            background-color: lightgreen;
            color: red;
        }
    </style>
</head>

<body>
<p class="para">
    Hello there.
</p>

<p class="para second">
    Welcome to Bajarangi
</p>

<p class="second">
    Like our platform?
</p>
</body>

</html>
Assigning classes using JavaScript: We can also add and remove classes using JavaScript. We will use “classList” property of a tag that returns the class names as a DOMTokenList object. We will use “add()” method to add multiple classes to an element dynamically.
add(class_1, class_2, …): It is used to assign a class or multiple classes to an element inside HTML.

Example 3:
<!DOCTYPE html>
<html lang="en">

<head>
    <meta charset="UTF-8">

    <title>
        How to apply two CSS classes
        to a single element?
    </title>

    <style>
        .para.second {
            font-size: larger;
            margin-bottom: 35px;
            margin-top: 35px;
            background-color: lightgreen;
            color: red;
        }
    </style>

    <script>
        function myFunc() {
            var element = document.getElementById(
                "to_be_styled");

            element.classList.add("para", "second");
        }
    </script>
</head>

<body>
<p>Hello there.</p>

<p id="to_be_styled">
    Welcome to Bajarangi Soft
</p>

<p>Like our platform?</p>

<button onclick="myFunc()">
    Click Me to see Effects
</button>
</body>

</html>

Related Post